Introduction
Artificial turf has become a popular choice for homeowners, commercial properties, and sports facilities thanks to its low maintenance, year-round green appearance, and water savings. Whether you’re considering a full backyard makeover or a small putting green, understanding the installation process will help you plan, budget, and achieve a long-lasting result.
Planning Your Installation
Assess the Area
Measure the space accurately and note slopes, drainage, existing vegetation, and utility lines. Small irregular shapes may increase cutting and seam work, while large continuous areas are simpler and generally cheaper per square foot.
Choose the Right Turf
Artificial turf varies by pile height, fiber type, color, infill requirements, and intended use. Consider the following:
- Residential turf: softer fibers, moderate pile height (20–40 mm).
- Pet turf: built for odor control and faster drainage.
- Sports turf: durable fibers and engineered shock absorption.
Budget and Permits
Costs depend on turf quality, square footage, base materials, and labor. Get multiple quotes and check local regulations—some HOAs or municipalities may require permits or have restrictions.
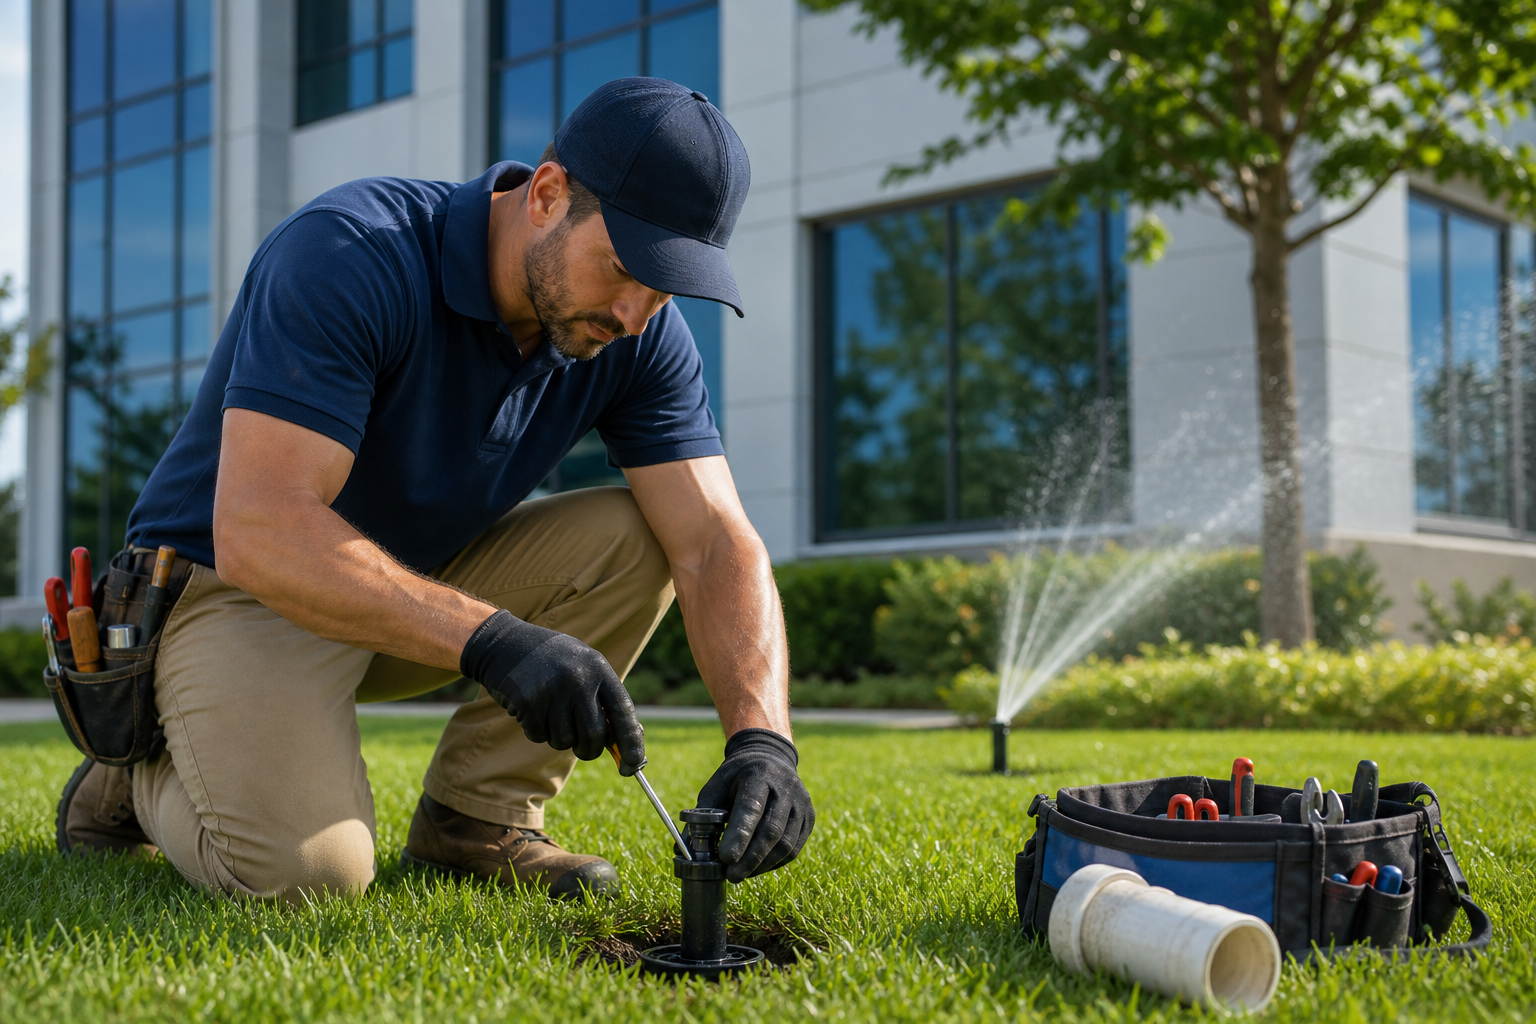
Step-by-Step Installation Process
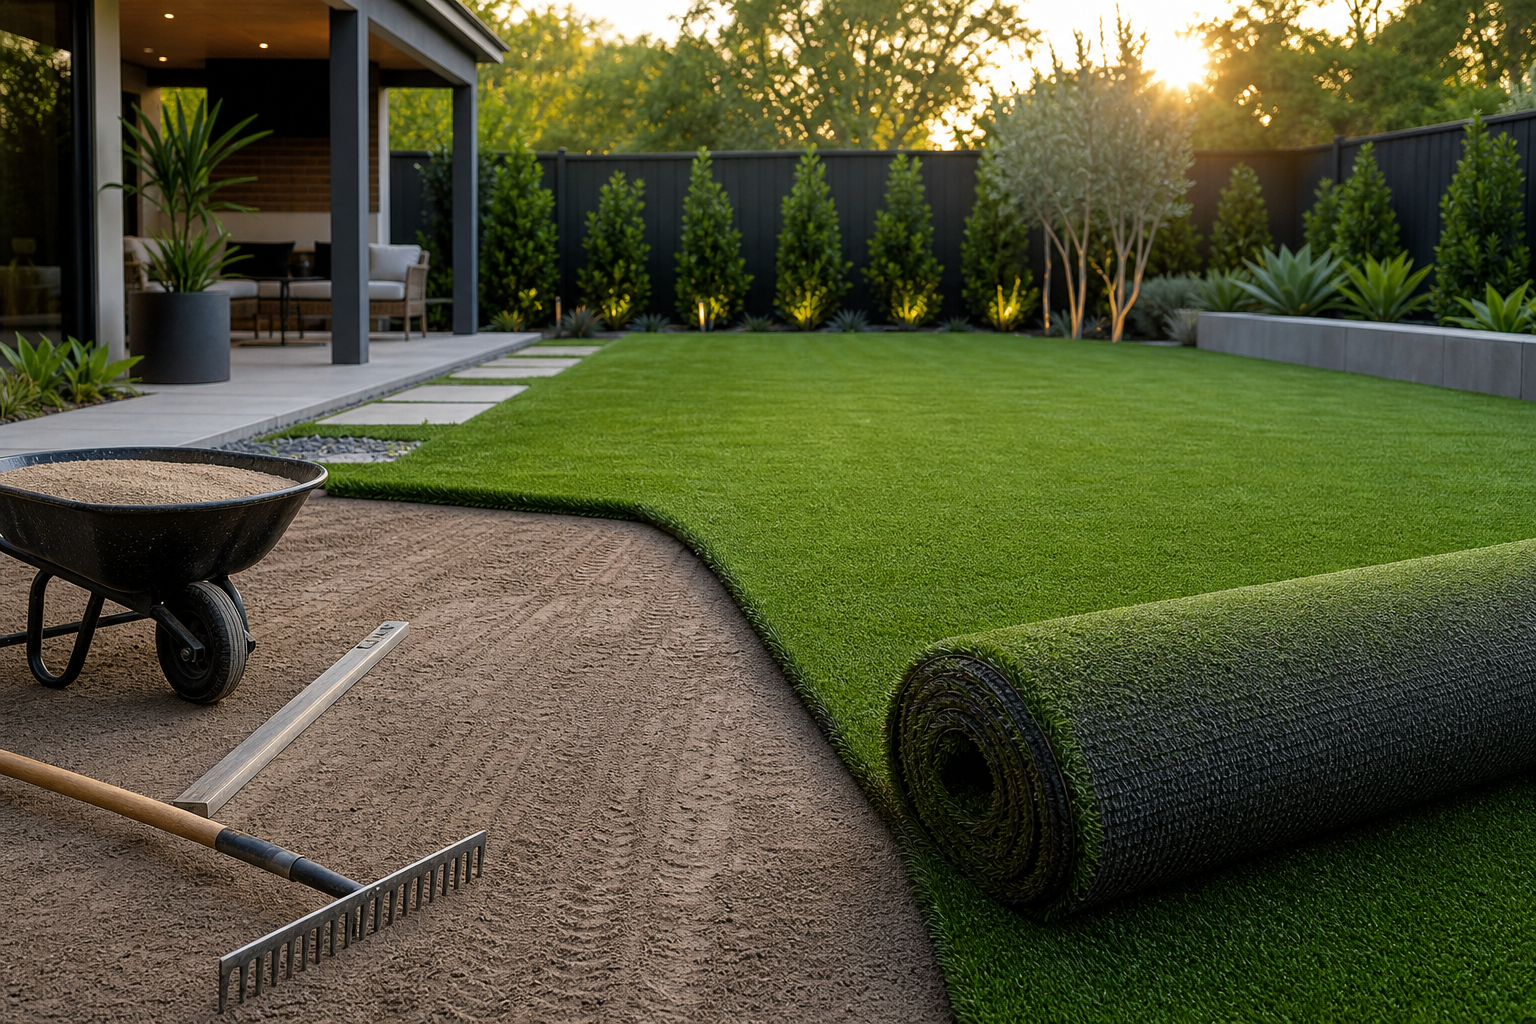
1. Site Preparation
Remove existing grass, weeds, and debris. For best results, excavate 3–4 inches for residential lawns and deeper if drainage needs demand it. Proper preparation prevents settling and weed intrusion.
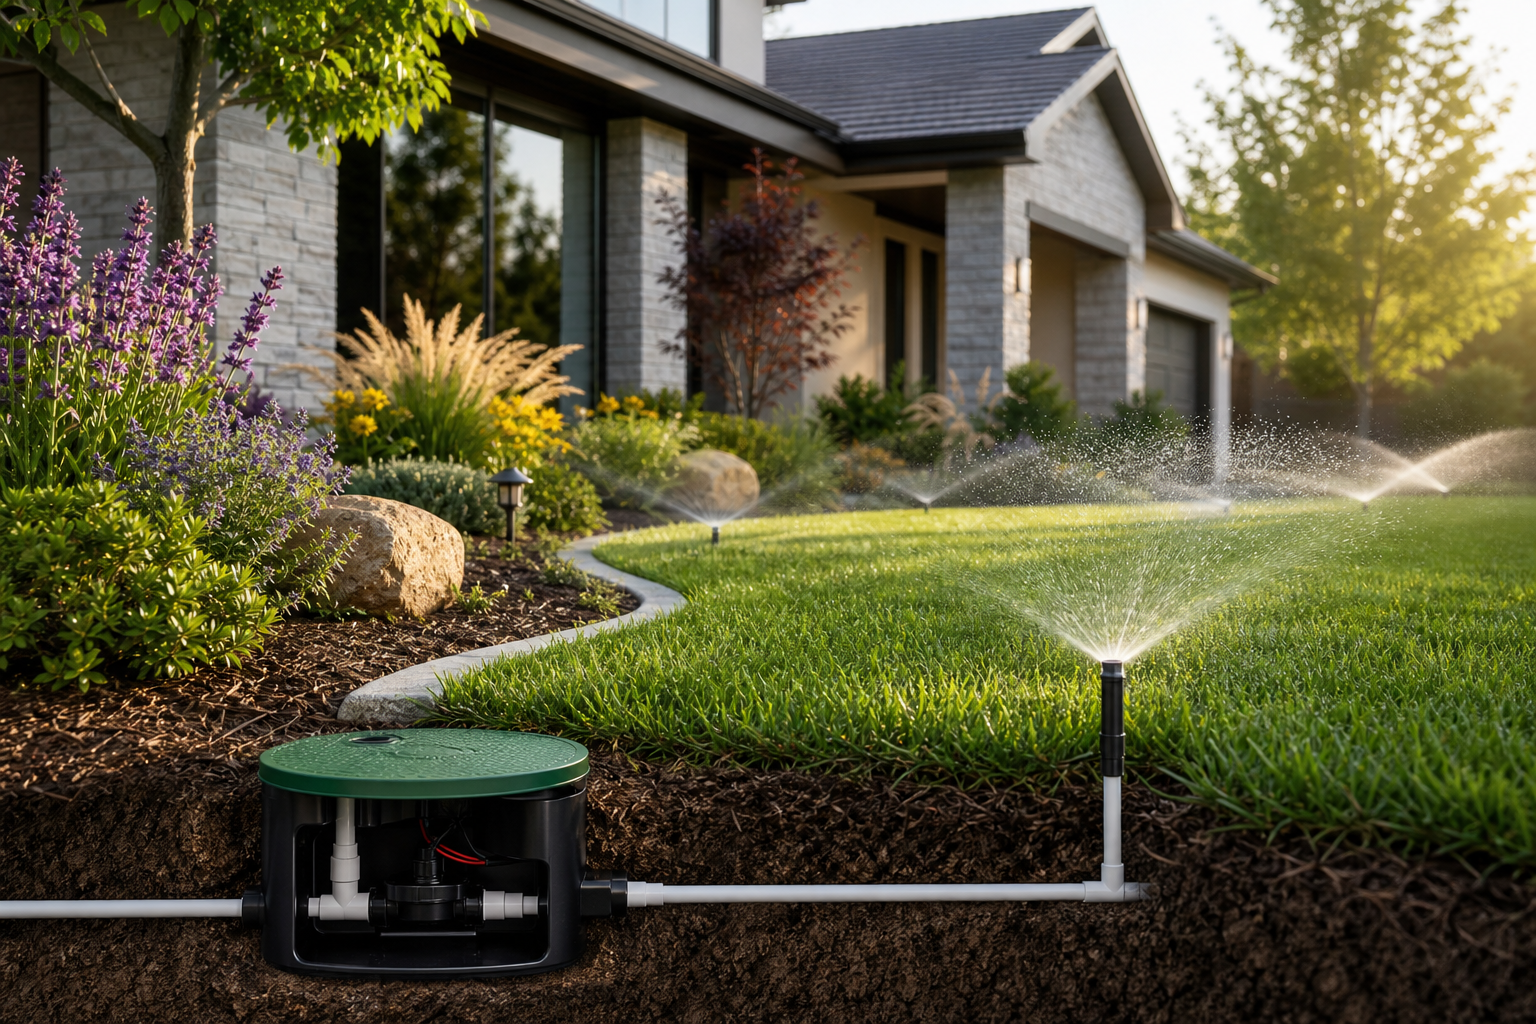
2. Install a Stable Base
Create a stable, well-draining base using crushed stone or decomposed granite. Compact the base in layers with a plate compactor until it’s firm and level. A slight slope (1–2%) away from structures ensures water runoff.
3. Add a Weed Barrier
Lay a geotextile fabric over the compacted base to reduce weeds and prevent mixing of base material with the soil below. While not always mandatory, it helps keep the turf looking neat over time.
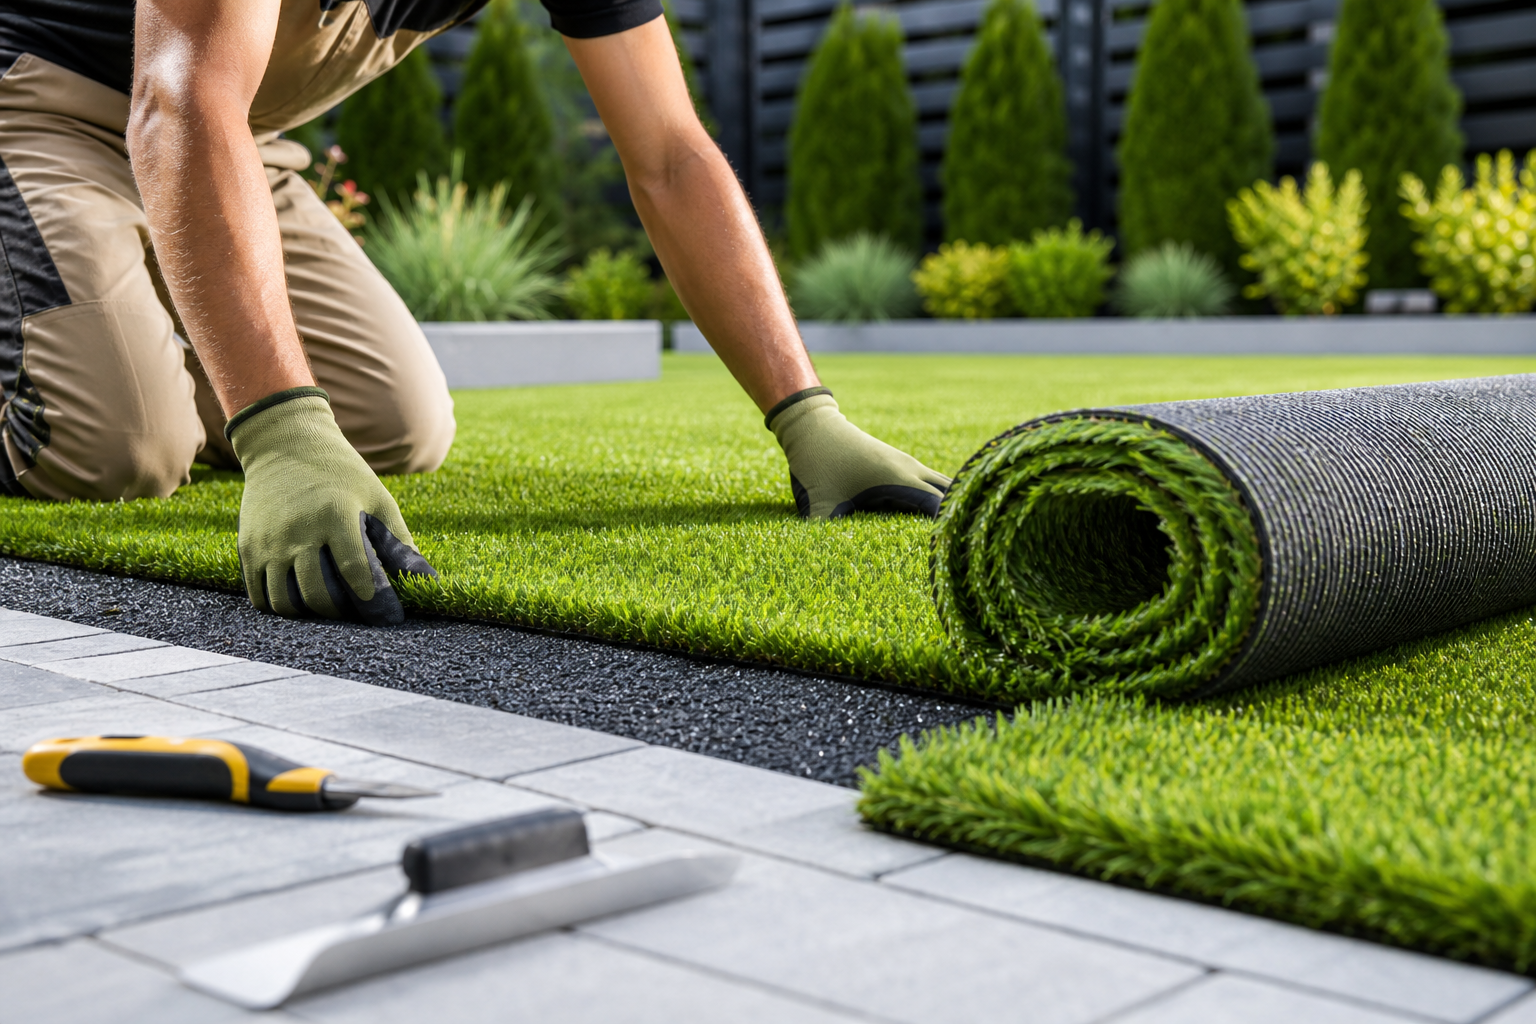
4. Roll Out and Trim the Turf
Roll out the turf in the direction that looks most natural. Allow it to acclimate for a few hours if possible. Trim edges using a utility knife and ensure pieces align in the same nap direction for consistent appearance.
5. Seam and Secure
Use seam tape and an adhesive designed for artificial turf to join pieces. Secure edges with landscape staples, nails, or a perimeter edging system. Proper seam work is critical to hide joins and maintain integrity.
6. Apply Infill
Infill (silica sand, crumb rubber, or alternatives) helps blades stand upright, adds ballast, and improves feel and durability. Broadcast infill evenly and brush the turf fibers upright with a stiff broom or power brush.
7. Final Grooming and Inspection
Check for loose edges, uneven areas, and proper drainage. Rake and brush the turf to distribute infill and impart a natural look. Water the turf lightly if the infill manufacturer recommends it to settle the material.
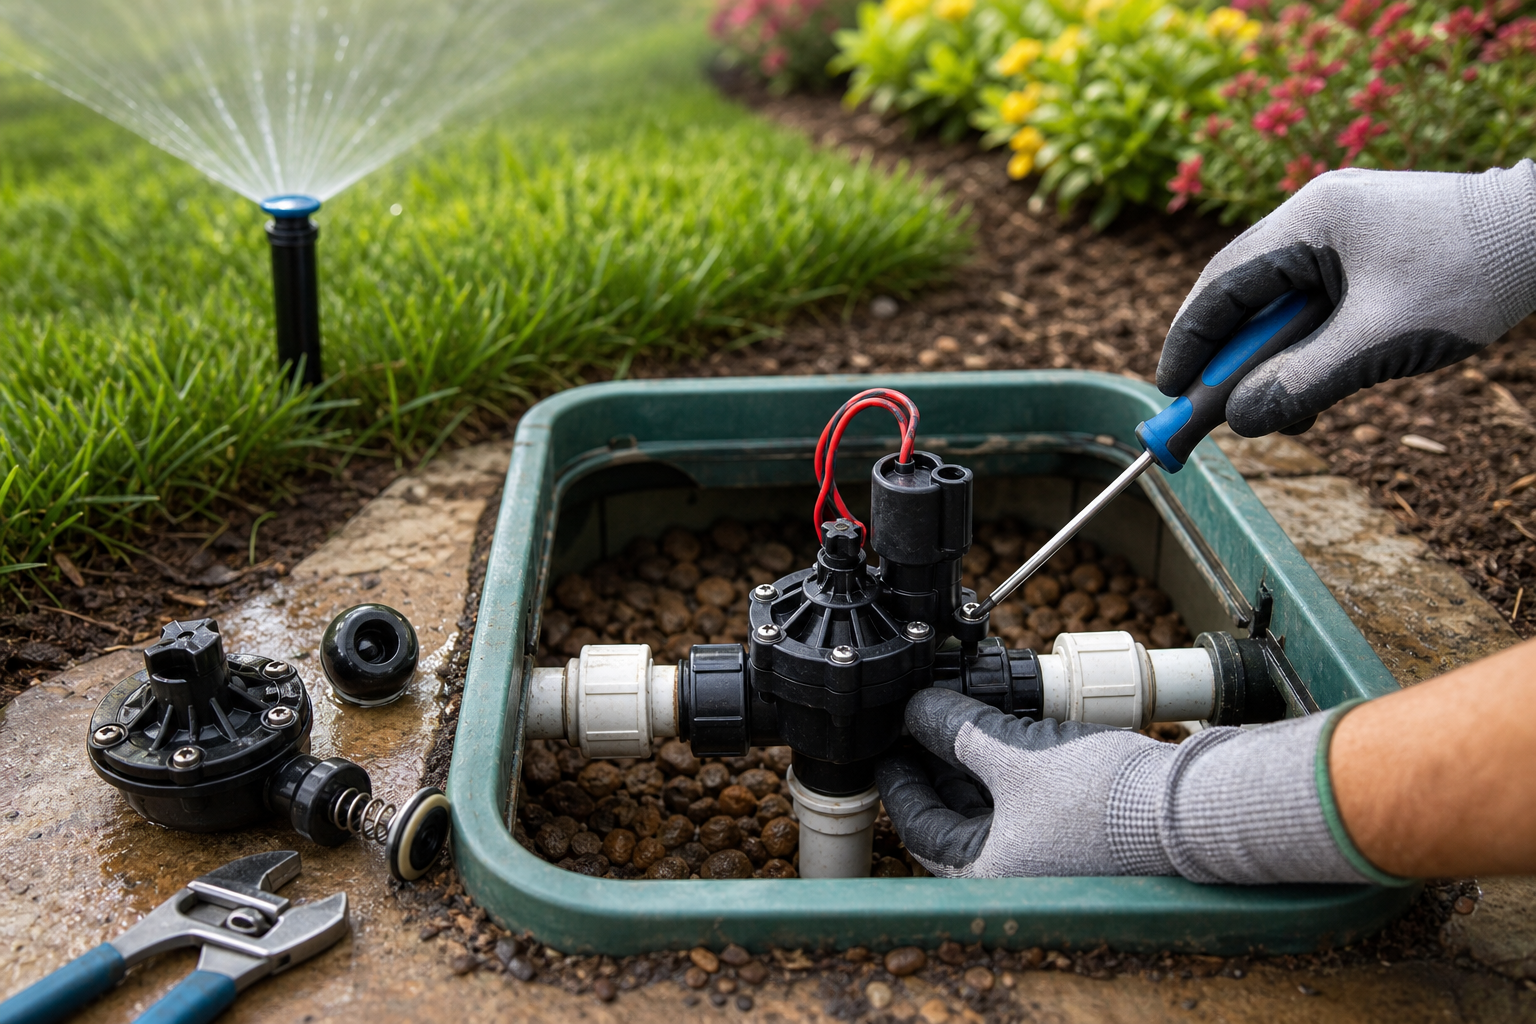
Maintenance After Installation
Turf care is simpler than natural grass but still important. Regularly remove debris, brush high-traffic areas, and rinse to control dust and pet odors. Periodically check seams and perimeter fasteners and top up infill as needed.
DIY vs. Professional Installation
DIY can save money if you have landscaping experience, the right tools, and time. However, professionals offer benefits: accurate base preparation, proper drainage solutions, clean seams, and warranty-backed workmanship. For large areas, complex slopes, or sports surfaces, hiring pros is often the safer choice.
Typical Costs and Timeline
Costs vary widely. Expect materials to range from budget to premium per square foot, plus labor. A typical residential installation can take 1–3 days for a mid-sized yard with a professional crew; DIY projects may take a weekend or longer depending on complexity.
Common Mistakes to Avoid
- Poor base compaction—leads to sinking and uneven turf.
- Skipping proper drainage—water pooling shortens turf life.
- Improper seam alignment—visible lines and weak joins.
- Wrong infill type or inadequate infill—affects performance and feel.
Tips for Longevity
- Install edging to protect the perimeter from shifting.
- Address high-traffic paths with reinforcement or more infill.
- Use pet-friendly products if animals will use the area.
- Schedule periodic professional inspections for large installs.
Conclusion
Artificial turf installation is a practical way to achieve a low-maintenance, attractive landscape when planned and executed correctly. Whether you choose DIY or a professional crew, thorough site prep, correct materials, and attention to drainage and seams will ensure a durable, natural-looking surface for years to come.