Introduction to Turf Installation
Installing turf—whether artificial or natural sod—can transform a yard into a low-maintenance, attractive space. This guide explains the full turf installation process, from planning and site preparation to laying, infill, drainage, and maintenance. Whether you’re tackling a DIY project or hiring a pro, these steps will help you achieve a durable, beautiful lawn.
Planning Your Turf Project
Define Purpose and Budget
First, decide how you’ll use the turf. High-traffic play areas, pet zones, and ornamental spaces require different materials and installation methods. Set a realistic budget that includes materials, tools, labor (if hiring), and a contingency for unexpected site work.
Choose the Right Turf Type
For artificial turf, consider pile height, fiber type (monofilament vs. fibrillated), density, and backing quality. For natural turf, select a grass variety suited to your climate and sun exposure. Proper selection has a big impact on durability and appearance.
Site Assessment and Preparation
Survey and Mark the Area
Measure and mark the area accurately. Check slopes, existing drainage, and underground utilities before digging. Good planning prevents costly mistakes and ensures proper water flow away from structures.
Remove Existing Vegetation and Obstacles
Clear sod, weeds, rocks, and debris. For artificial turf, remove topsoil to the recommended depth (usually 2–4 inches for patio overlays, more for lawn installations). For natural sod, prepare the soil to encourage root establishment.
Base Installation and Compaction
Install a Proper Base
A stable base is essential for longevity. For artificial turf, apply a crushed rock or decomposed granite base that provides drainage and compaction. For natural turf, amend the soil with compost and ensure it’s loose enough for roots to penetrate but firm enough to support foot traffic.
Compact and Grade
Use a plate compactor to create a firm, level surface. Grade the base to provide a subtle slope (about 1–2% is typical) away from buildings to prevent water pooling. Proper compaction reduces future settling and wrinkles in artificial turf.
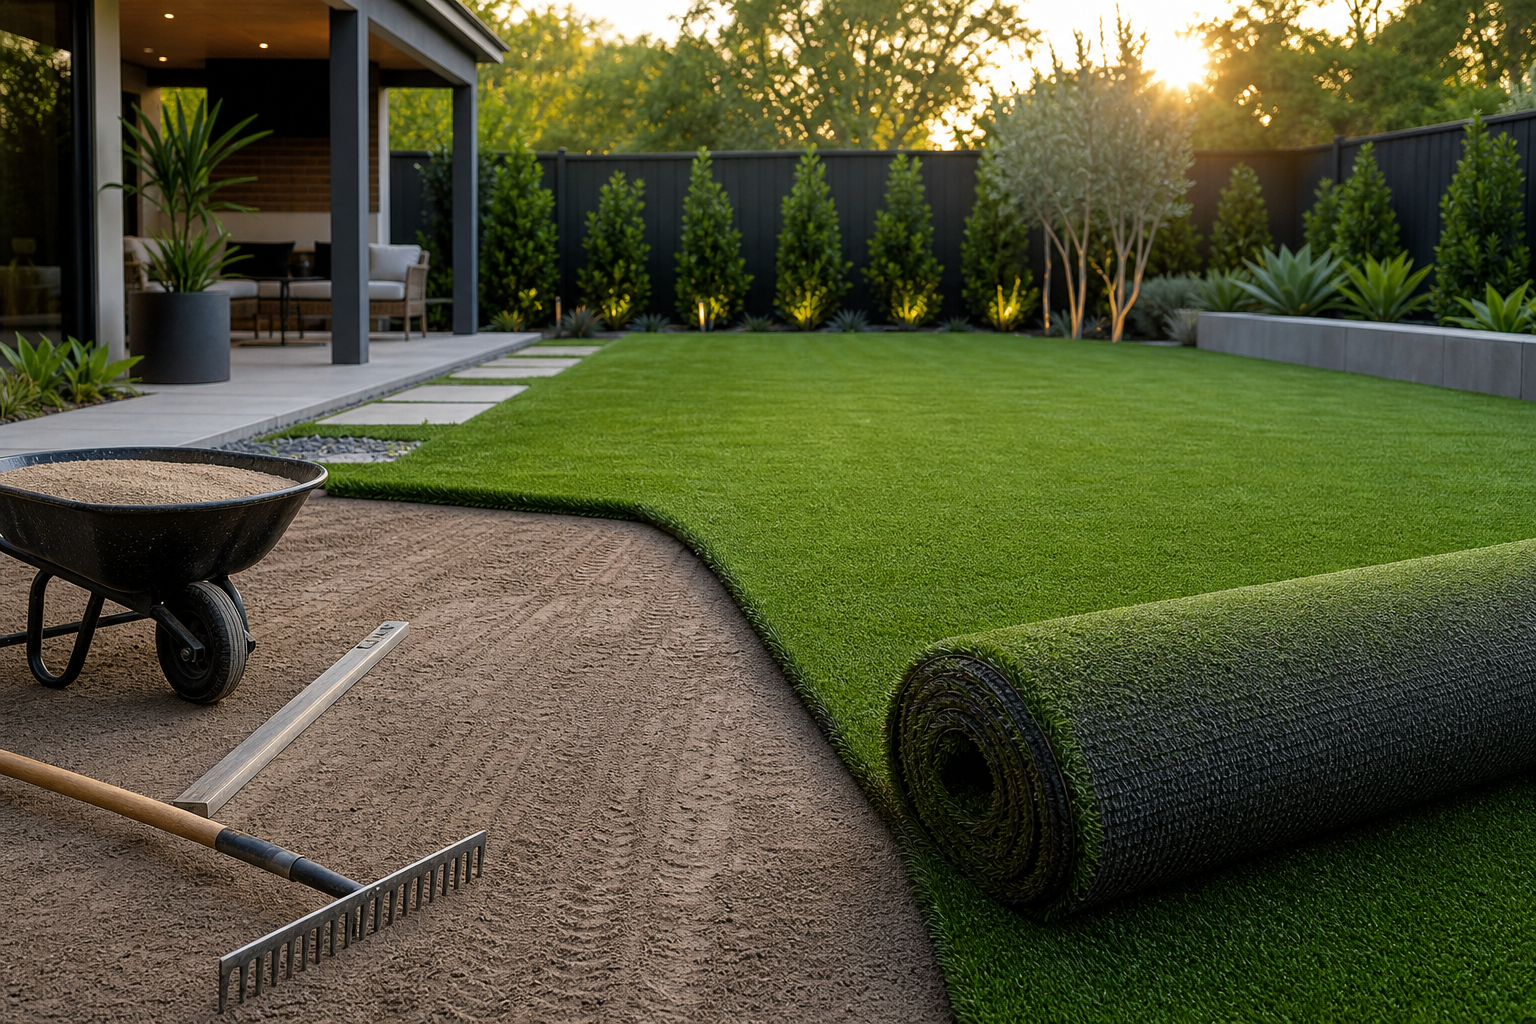
Laying Turf
Artificial Turf Installation
Roll out the turf and allow it to acclimate. Trim edges carefully with a utility knife, and ensure seams meet with the grain aligned. Use seam tape and adhesive or galvanized staples to secure joins. Stake the perimeter every 4–6 inches for a neat edge.
Natural Sod Installation
Lay sod in a staggered brick pattern to avoid seams lining up. Press sod pieces together to eliminate gaps, and use a lawn roller to ensure contact between roots and soil. Water immediately after installation to help roots establish.
Seams, Infill, and Edging
Seam Finishing
For artificial turf, ensure seams are tight and hidden. Seam adhesive must be applied evenly and allowed to cure per manufacturer instructions. For both artificial and natural lawns, neat edges improve aesthetics and longevity.
Infill Materials and Application
Infill (silica sand, crumb rubber, or organic options) supports fibers, improves drainage, and adds weight to keep artificial turf in place. Apply infill evenly using a drop spreader or shovel, then work it into the fibers with a power broom or stiff rake. Natural lawns don’t require infill but may benefit from topdressing after establishment.
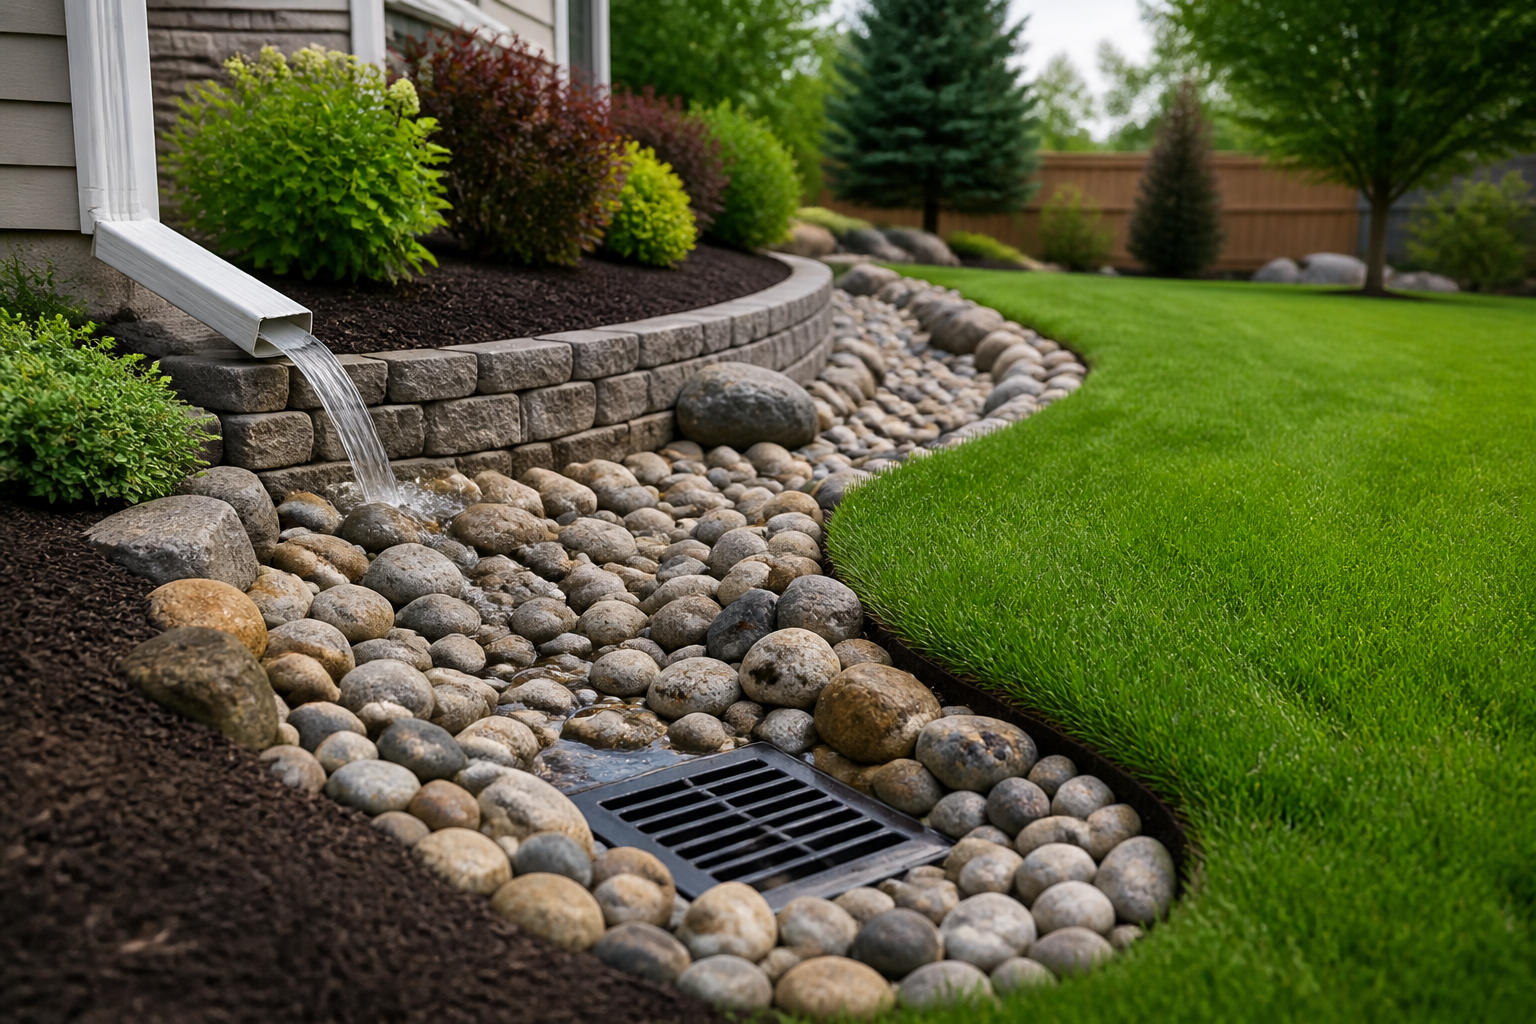
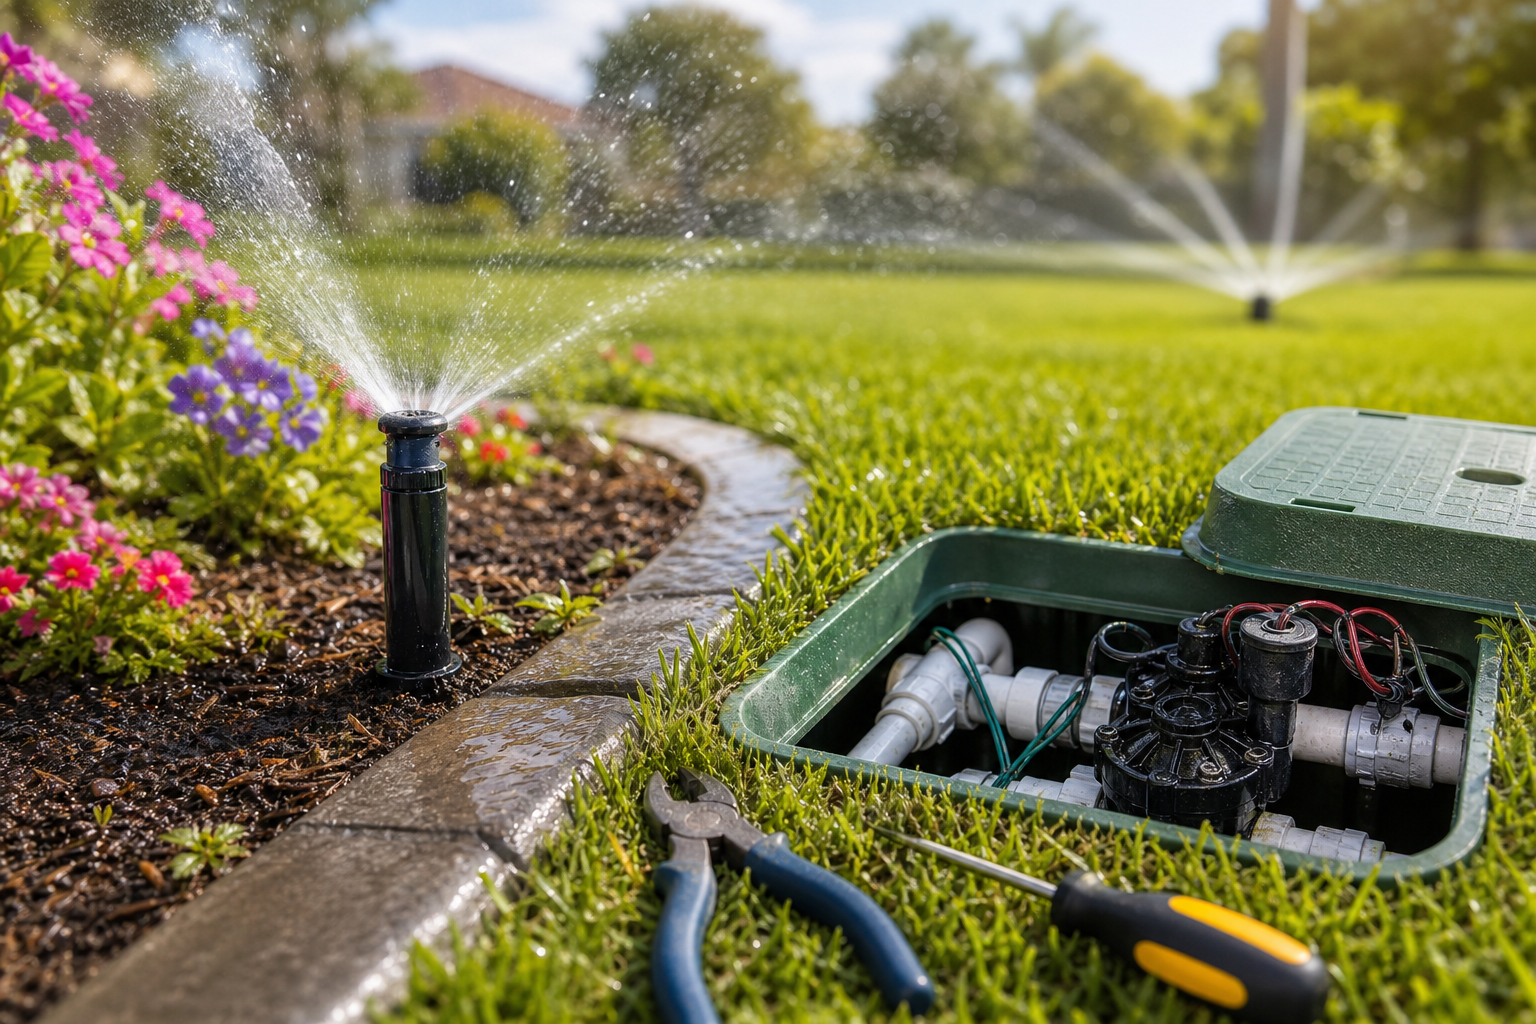
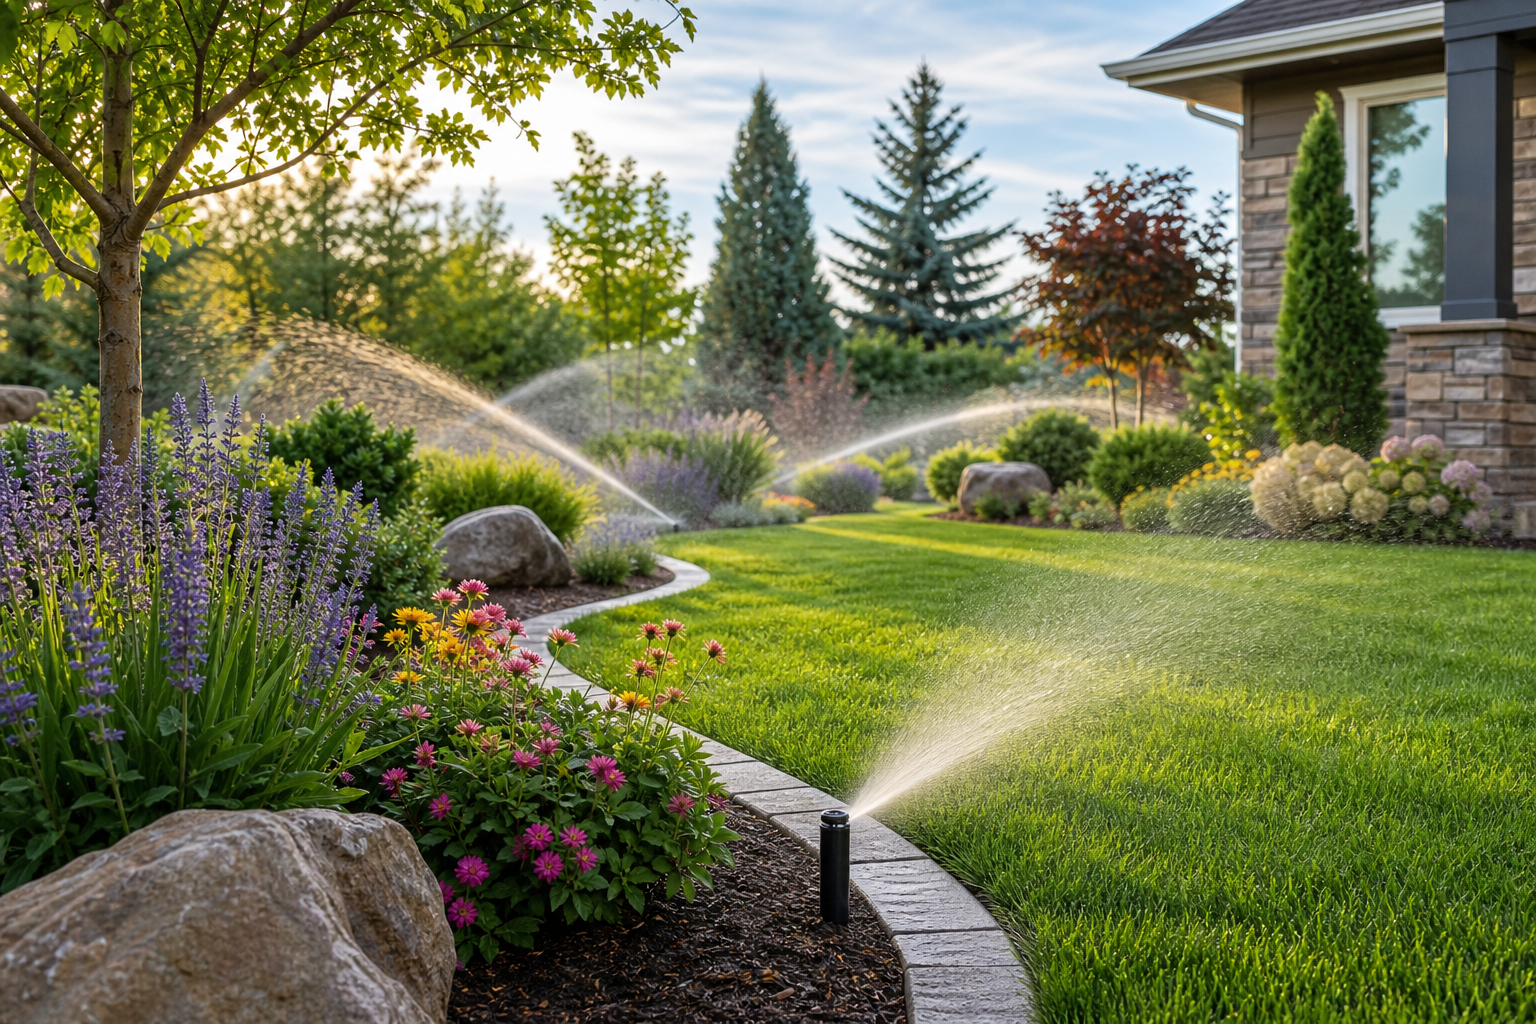
Drainage and Irrigation Considerations
Good drainage prevents pooling and damage. Ensure the base layer is permeable and slopes away from foundations. For natural turf, design an irrigation system that provides even coverage without oversaturation. For artificial turf, occasional rinsing and cleaning may be sufficient depending on climate and use.
Maintenance Tips
Artificial turf: Remove debris, brush fibers to maintain upright appearance, rinse as needed, and sanitize pet areas. Natural turf: mow regularly, water deeply and infrequently, fertilize seasonally, and aerate annually to maintain healthy roots.
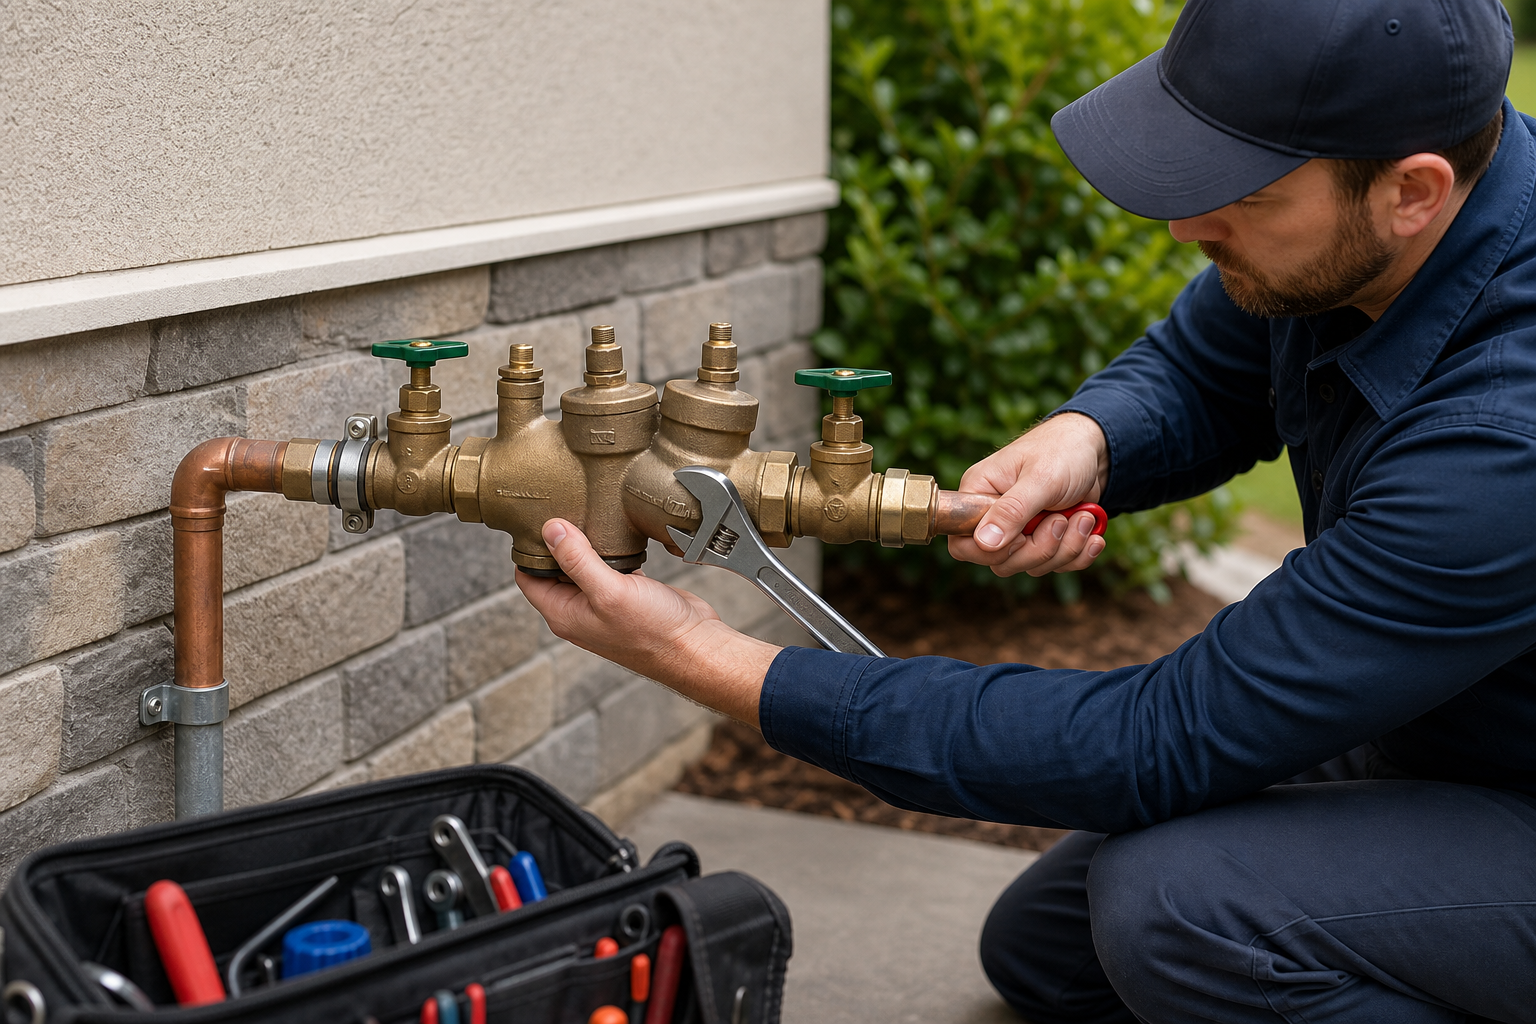
Cost, Timeline, and Hiring Professionals
Costs vary by material, site complexity, and labor rates. A small DIY artificial turf project can be completed in a weekend, while larger installations or natural sod may take several days to a week (plus establishment time for sod). Hiring experienced professionals reduces risk of mistakes, provides warranties, and can speed up the timeline—especially for complex grading and drainage work.
Common Problems and How to Avoid Them
- Uneven settling: prevent with proper compaction and base materials.
- Poor drainage: ensure slope and permeable base; add drainage pipes if needed.
- Visible seams or wrinkles in turf: cut accurately, seam tightly, and allow turf to relax before securing.
- Weed growth under artificial turf: install weed barrier and treat persistent weeds at the edges.
Conclusion
Turf installation is a manageable project with careful planning, correct materials, and attention to drainage and compaction. Whether you choose artificial turf for low maintenance or natural sod for an organic lawn, following these steps will increase the chances of a durable, attractive result.