Why Choose Synthetic Grass?
Synthetic grass has evolved from novelty to a mainstream landscaping solution. It delivers a green, manicured look year-round, reduces water use, and cuts down on mowing and fertilizing. Whether you’re renovating a backyard, creating a pet-friendly area, or installing turf for a rooftop terrace, understanding the installation process helps you get durable, realistic results.
Benefits of Installing Synthetic Grass
- Consistent aesthetics: stays green and even through weather changes.
- Low maintenance: no mowing, limited cleaning, and minimal fertilization.
- Water savings: eliminates or drastically reduces irrigation needs.
- Durability: high-quality turf withstands heavy foot traffic and pets.
- Environmental perks: less pesticide and fertilizer use, and reduced gasoline emissions from lawn equipment.
Planning and Preparation
Measure and Design the Space
Start by measuring the area to determine how much turf you’ll need. Sketch the layout, noting any obstacles such as trees, drains, or garden beds. If your space has slopes, consider how water will flow and where runoff might collect.
Check Local Regulations and Drainage
Some neighborhoods or HOAs have rules about visible turf; confirm local codes before you begin. Good drainage is critical—synthetic grass needs a stable base that allows water to percolate. Address any existing drainage issues before installing the turf.
Materials and Tools Needed
- Synthetic turf rolls (allow extra for seams and trimming)
- Weed barrier fabric
- Crushed rock or decomposed granite for the base
- Compactor (plate compactor or hand tamper)
- Turf adhesive or seaming tape and infill material (silica sand or rubber)
- Landscape staples or nails
- Utility knife, rake, broom, and measuring tools
- Optional: edging materials for a clean perimeter finish
Step-by-Step Installation Process
1. Remove Existing Lawn and Debris
Clear the area of grass, roots, rocks, and debris. You can remove sod with a shovel or rent a sod cutter for larger areas. Aim for a clean, level surface free of organic material that can decompose and cause sinking later.
2. Install the Base
Spread a 2–4 inch layer of crushed rock or decomposed granite, depending on your soil and drainage needs. The base should facilitate drainage and provide a stable foundation. Compact the base thoroughly with a plate compactor, adding more material and compacting again until the surface is firm and level.
3. Lay Weed Barrier and Edge Restraints
Lay a permeable weed barrier over the compacted base to reduce weed growth. Install edging—such as aluminum, timber, or plastic—to hold the base and turf edges in place and create a crisp boundary.
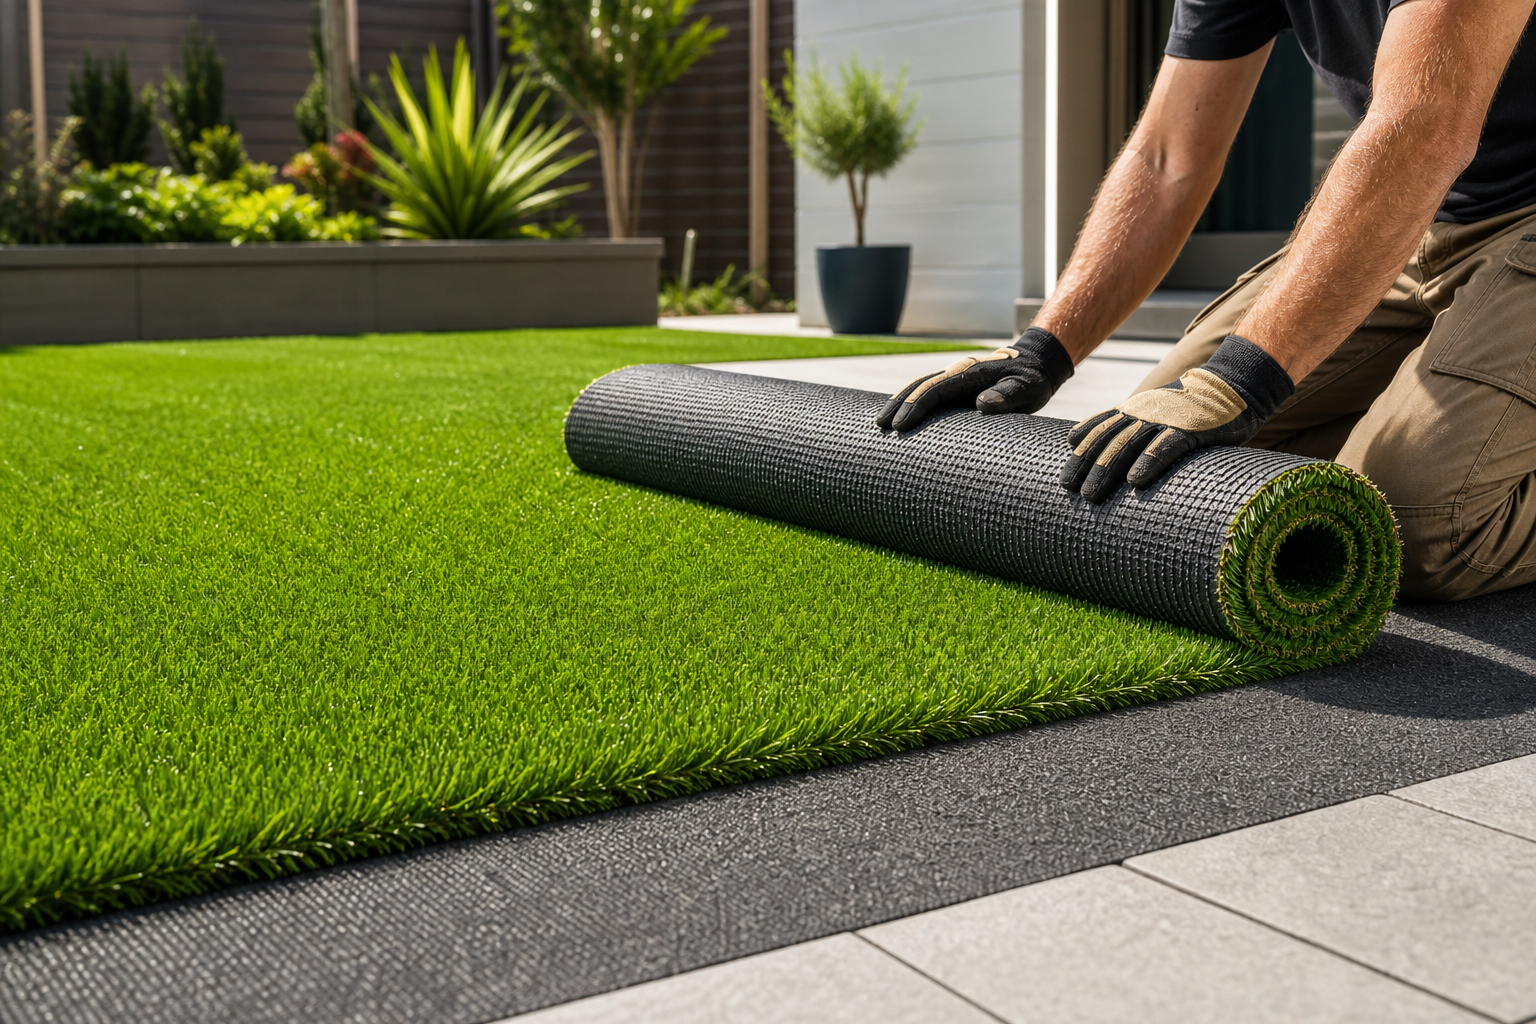
4. Roll Out the Turf
Roll your turf into position, aligning the grain so all blades face the same direction for a consistent look. Allow the turf to sit for a few hours to relax any creases, or leave it overnight if possible.
5. Trim and Seam Pieces
Trim the turf to fit around obstacles and borders with a sharp utility knife. When joining pieces, butt seams tightly together so fibers interlock; use seaming tape and adhesive underneath to secure seams. Avoid overlapping seams, which can create visible lines.
6. Secure the Turf
Fasten the turf perimeter with landscape staples or nails every 6–8 inches, and closer around curves. Make sure the turf is taut but not overstretched to prevent rippling.
7. Apply Infill and Groom the Surface
Spread infill (usually silica sand or a rubber-sand mix) across the turf to help blades stand upright, add weight, and provide cushioning. Use a power broom or stiff brush to work infill into the fibers and groom the turf. Brush against the grain for best results.
8. Final Inspection
Walk the entire installation, checking for loose edges, uneven seams, or low spots. Top up infill and re-brush any flattened areas. Confirm proper drainage by testing with a hose or waiting for rainfall.
Maintenance and Care
- Regularly remove leaves and debris with a leaf blower or rake.
- Occasional rinsing keeps the turf clean; for pet areas, hose down and use enzymatic cleaners for odors.
- Re-distribute infill with a brush as needed, and inspect seams and edges annually.
- If stains occur, spot-clean with mild soap and water; avoid harsh chemicals that can degrade the backing.
Common Mistakes to Avoid
- Skipping proper base preparation—this leads to sinking and poor drainage.
- Poor seam alignment or insufficient adhesive, which creates visible joins.
- Using the wrong type or amount of infill—too little and the turf won’t hold its shape; too much can weigh it down.
- Neglecting drainage planning, especially on slopes or compacted clay soils.
Conclusion
Synthetic grass installation is a rewarding project that delivers a beautiful, low-maintenance landscape when done correctly. Invest time in planning, base preparation, and quality materials to ensure a long-lasting, natural-looking result. Whether you hire professionals or take a DIY approach, following these steps will help you enjoy a green, practical outdoor space for years to come.