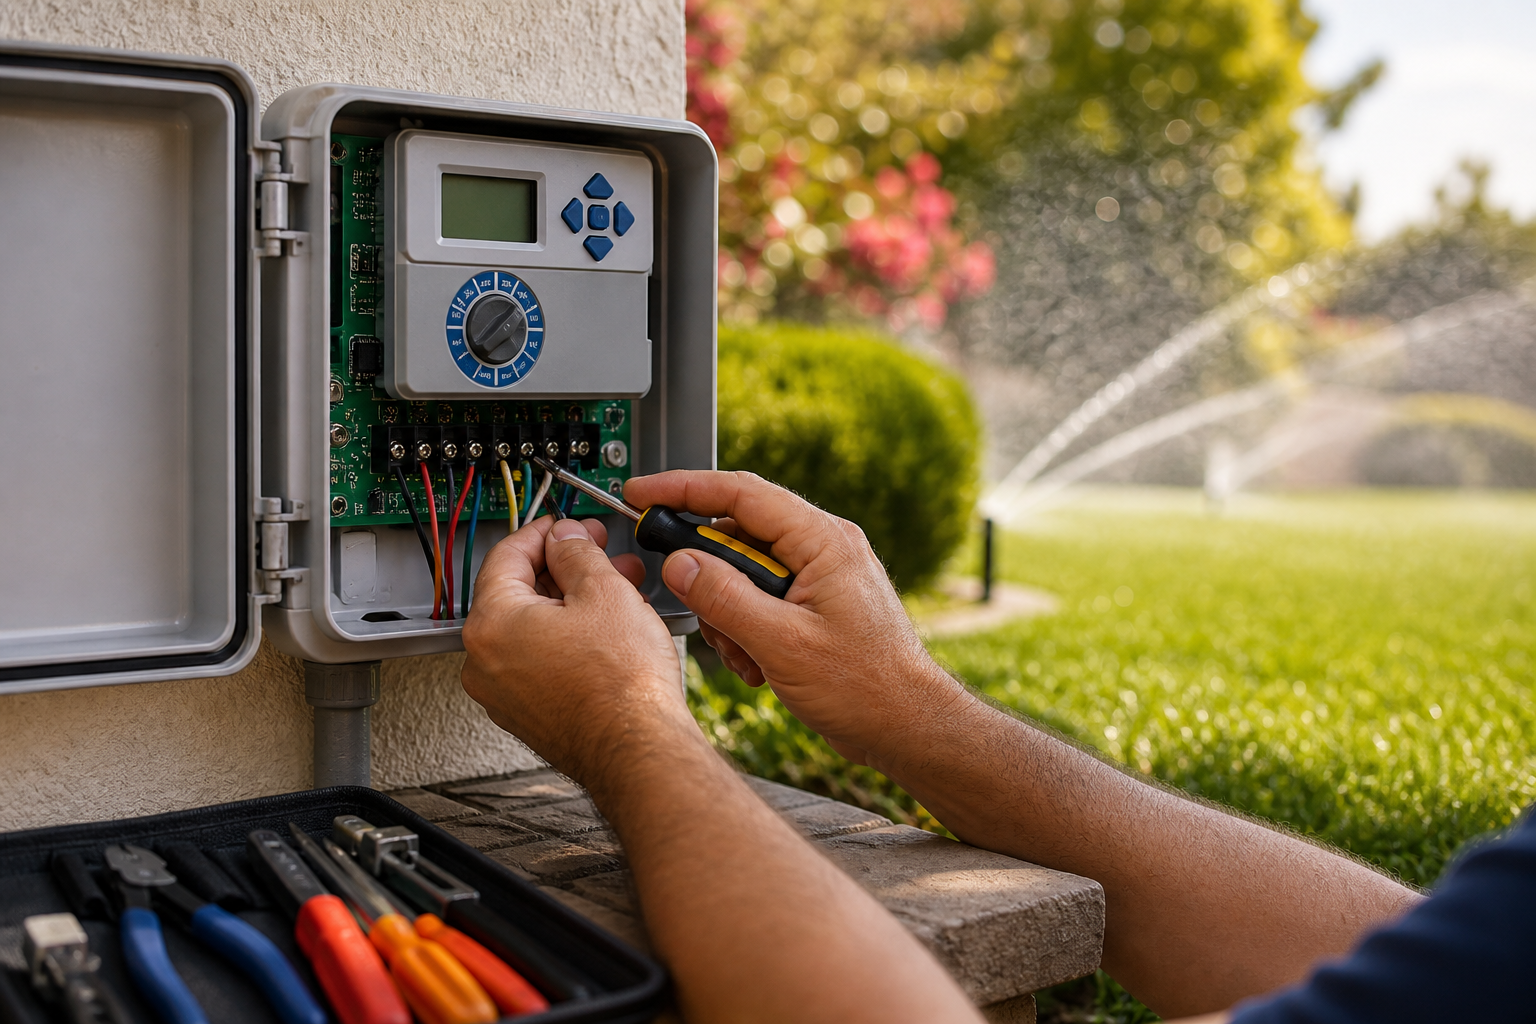
Understanding Your Irrigation Controller
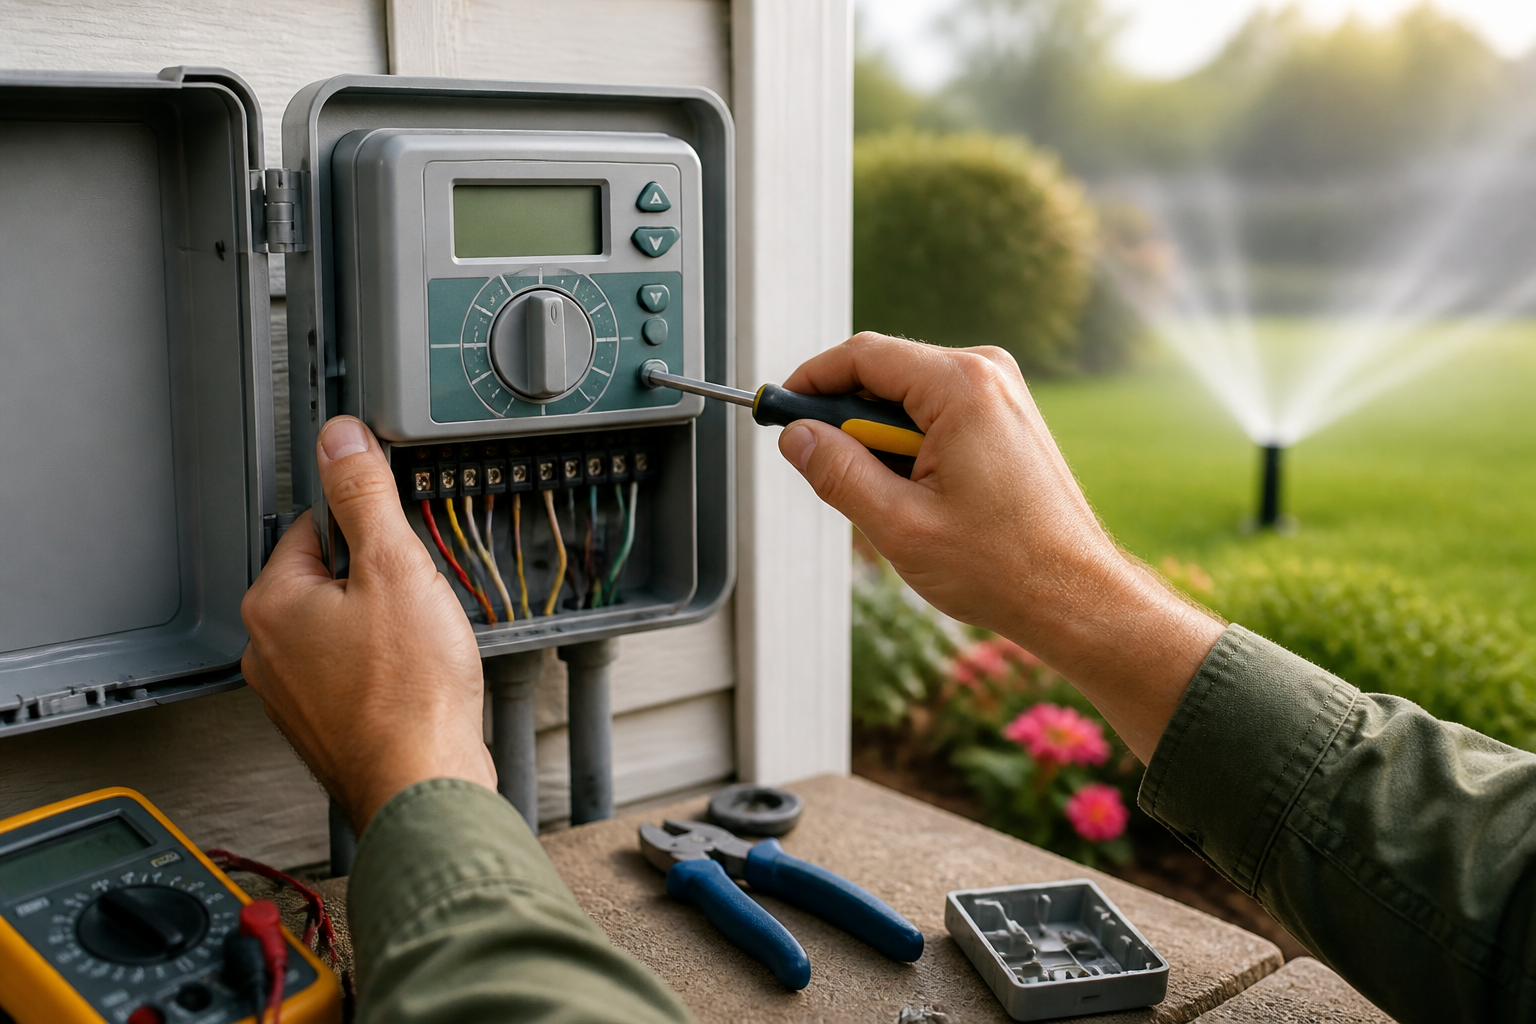
An irrigation controller (sometimes called a sprinkler timer or central control) is the brain of your irrigation system. It sends power and timing signals to valves that open and close zones, coordinates sensors like rain detectors, and may integrate with smart home systems or weather-based adjustments. Before attempting any repair, identify whether you have a basic electromechanical timer, a digital controller, or a smart controller with Wi‑Fi capabilities—each has different components and failure modes.
Common Problems and How to Diagnose Them
Many controller issues are simple to diagnose with a little methodical troubleshooting. Work from the controller outward: check power, programming, wiring, and then field hardware.
No Power or Controller Won’t Turn On
- Check the outlet and GFCI: plug in a lamp or use a multimeter. Reset the breaker or GFCI if needed.
- Inspect the transformer (if external): look for burn marks, smell of burning, or no output voltage on a meter.
- For battery-backed models, replace the battery if the display is dim or clock is lost.
Zones Won’t Start or Run Erratically
- Verify the controller’s program and schedule—sometimes a stray setting or vacation mode prevents watering.
- Use the controller’s manual (or quick-test) mode to run each zone. If a zone operates from the controller but not automatically, it’s a programming issue.
- If a zone doesn’t run at all, test voltage at the terminal when the zone is commanded on. No voltage suggests controller output or wiring problems.
Shorts, Tripped Breakers, or Blown Fuses
- Shorts are usually in the field wiring or a failed valve coil. Inspect underground splices and valve boxes for water intrusion or rodent damage.
- To isolate, disconnect valve wires at the controller then operate zones one by one. If breaker still trips, the controller or transformer may be faulty.
Sensor or Communication Failures
- Rain sensors, flow sensors, or smart hub connections can prevent operation. Bypass a sensor temporarily to see if the controller resumes normal operation.
- For smart controllers, check Wi‑Fi strength and firmware updates before assuming hardware failure.
Step-by-Step Repair Guide
Safety First
- Turn power off at the breaker before opening the controller’s case or working on wiring.
- Use a multimeter to confirm power is off. Wear appropriate gloves and eye protection when needed.
Tools You’ll Need
- Multimeter (voltage and continuity)
- Screwdrivers, wire strippers, and pliers
- Replacement parts: fuses, transformer, spare valve solenoids, or a new controller if necessary
Basic Fixes
- Replace batteries and fuses: these are inexpensive and often restore functionality.
- Reset the controller to factory settings and reprogram your schedule—this resolves stubborn software issues.
- Clean terminals and tighten loose screws; corrosion can interrupt signals.
Replacing Components
- Transformer: match voltage specs and ground properly. Test secondary voltage before connecting to the controller.
- Valve Solenoids: remove the coil and test for continuity. Replace coils if open or shorted. Use identical or compatible replacement parts.
- Controller Replacement: if multiple outputs fail or the main board is visibly damaged, replacing the controller may be the most cost-effective option. Label wires clearly before swapping to preserve correct zone assignments.
When to Call a Professional
Consider professional help if you encounter persistent electrical shorts, multiple valve failures, complex central control systems, or a large commercial installation. Professionals have specialized tools (like clamp meters and irrigation-specific testers), permits knowledge, and the experience to diagnose buried wiring problems and integrate advanced controllers with central systems.
Preventive Maintenance
- Inspect the controller box annually: clear debris, check for moisture, and verify secure mounting.
- Replace backup batteries each year and test the controller’s outputs in the spring and fall.
- Mulch and landscaping should not block access to valve boxes; keep splices elevated or sealed to prevent water intrusion.
- Update firmware on smart controllers and recheck Wi‑Fi connections seasonally.
Conclusion
Many irrigation controller issues are straightforward and can be fixed with basic tools and a systematic approach: check power, verify programming, test outputs, and replace simple parts like batteries, fuses, transformers, or solenoids. For complex electrical faults, extensive wiring damage, or commercial systems, hire a licensed irrigation technician to ensure safety and reliability. Regular preventive maintenance will extend the life of your controller and keep your landscape healthy.