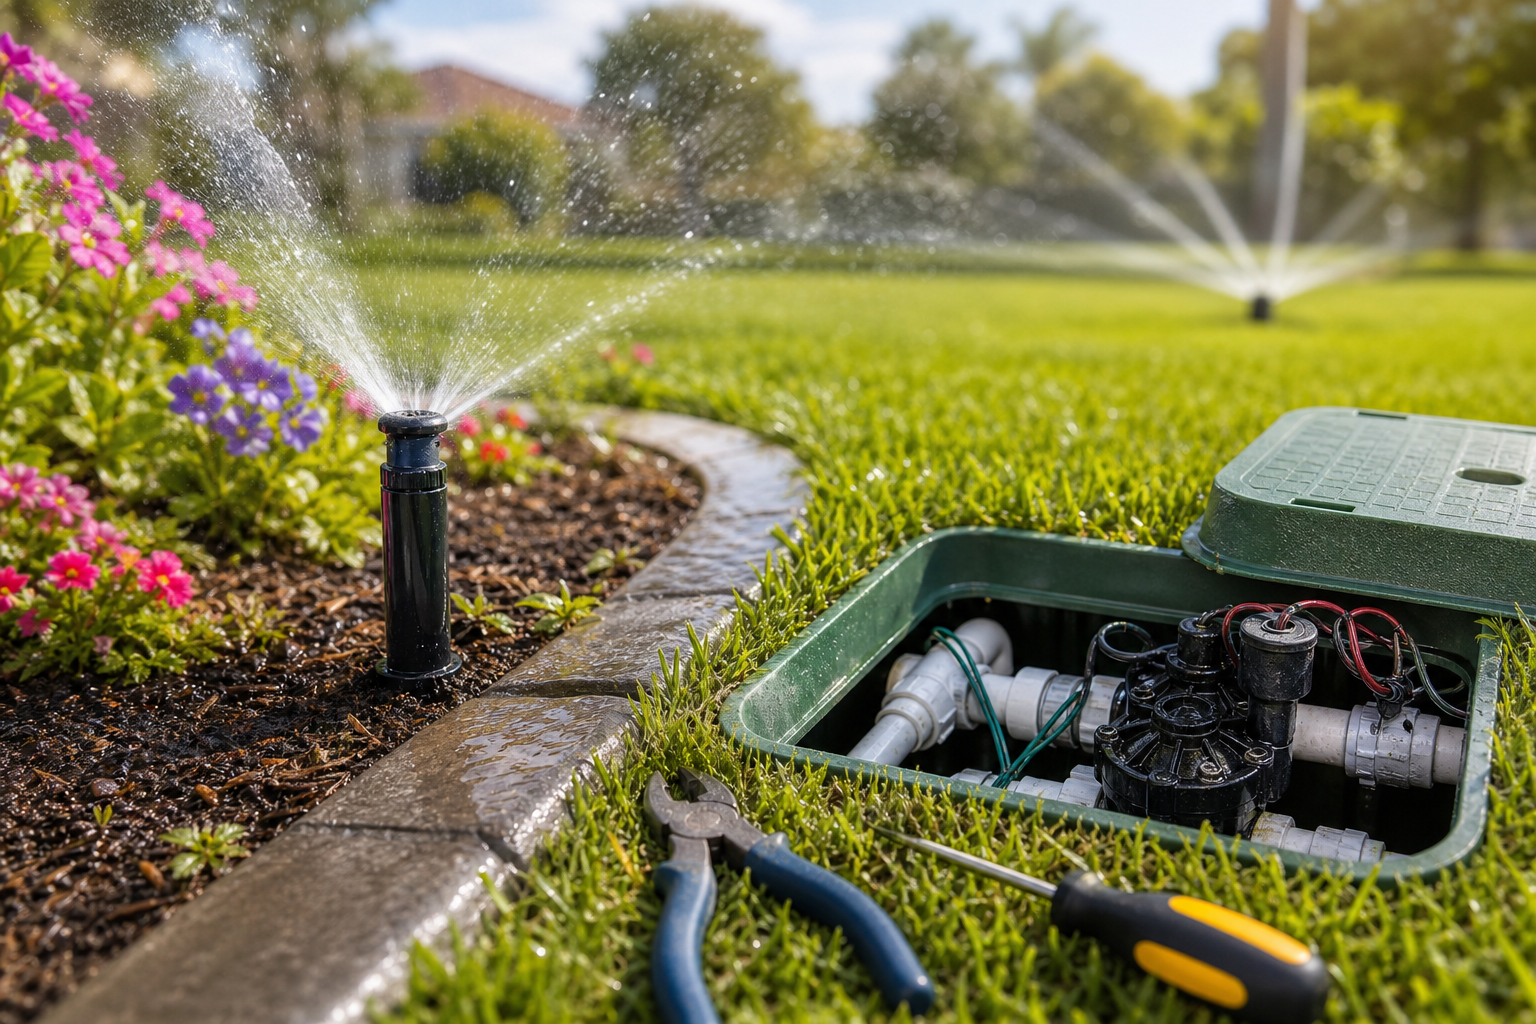
Why Replace a Sprinkler Head?
Sprinkler heads are small but critical components of an irrigation system. Over time they can crack, clog, become misaligned, or simply wear out. Replacing a faulty sprinkler head restores proper water coverage, reduces waste, prevents lawn damage, and can save you money on your water bill.
Signs Your Sprinkler Head Needs Replacement
- Visible damage: Cracks, broken nozzles, or a missing cap.
- Poor spray pattern: Drifting mist, spurts, or uneven coverage.
- Leakage or pooling: Water around the head when the system is off.
- Sunken or stuck heads: Heads that won’t retract or are below grade.
- Age and wear: Plastic heads exposed to sun and chemicals get brittle over time.
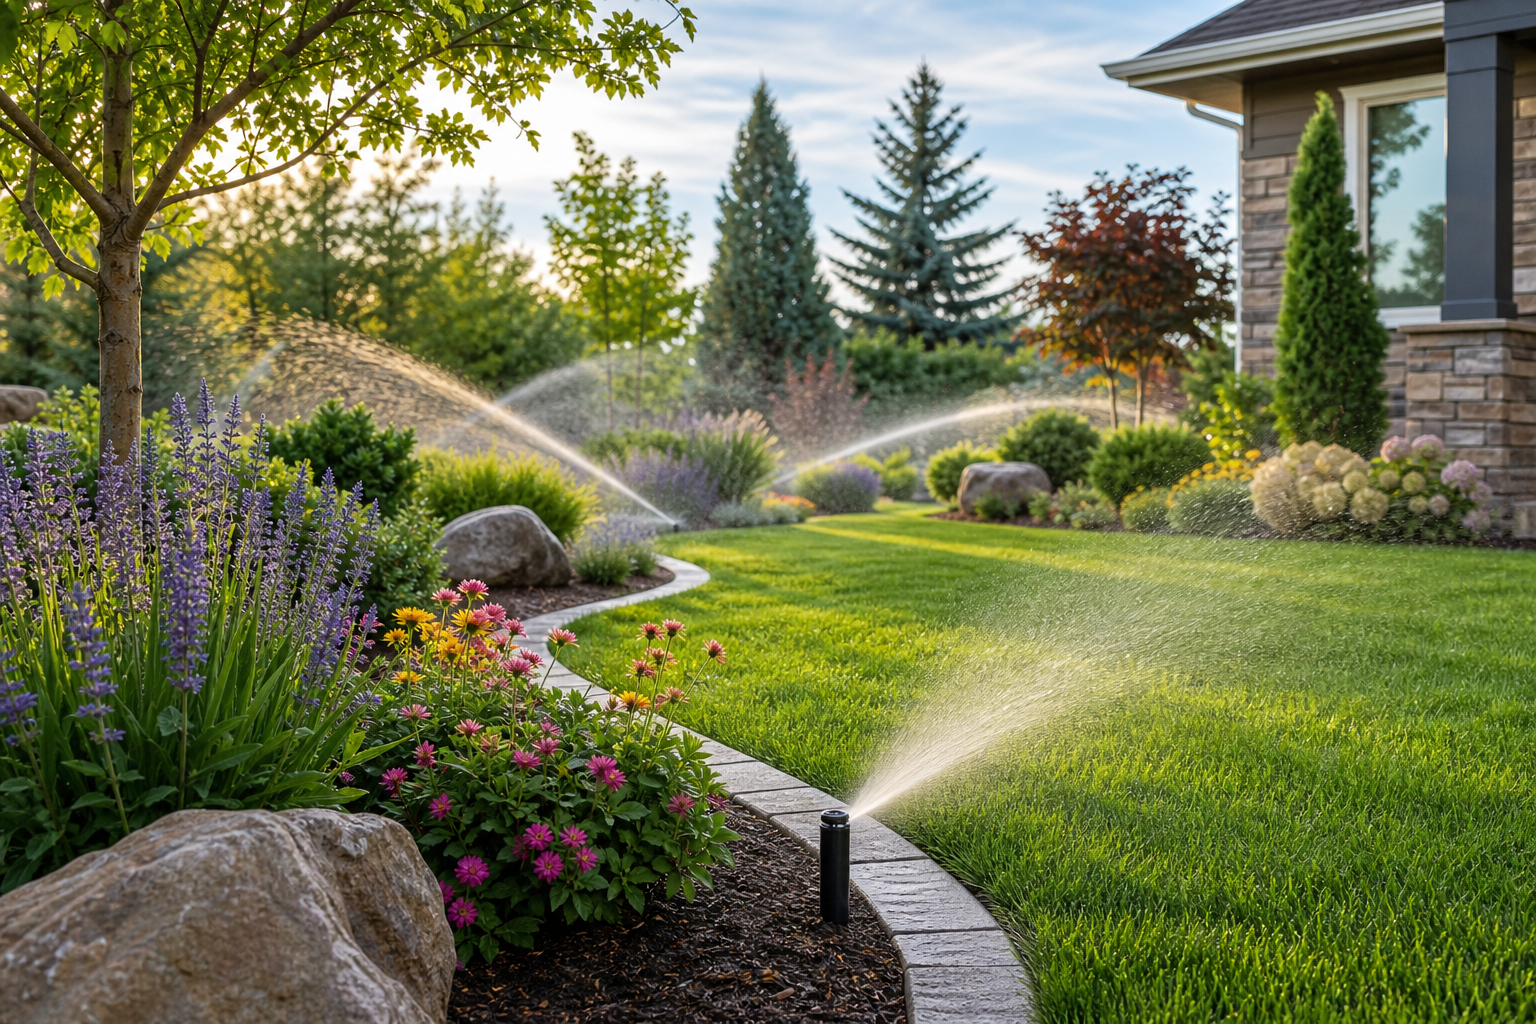
Types of Sprinkler Heads
Pop-Up Spray Heads
Common for small zones and lawns. They pop up to spray a fixed pattern and are ideal for short-range watering (typically up to 15 feet).
Rotary and Rotor Heads
Best for medium to large lawns. They rotate and cover longer distances more efficiently than spray heads.
Drip and Micro-Sprayers
Used for garden beds, shrubs, and trees. They deliver slow, targeted water directly to roots.
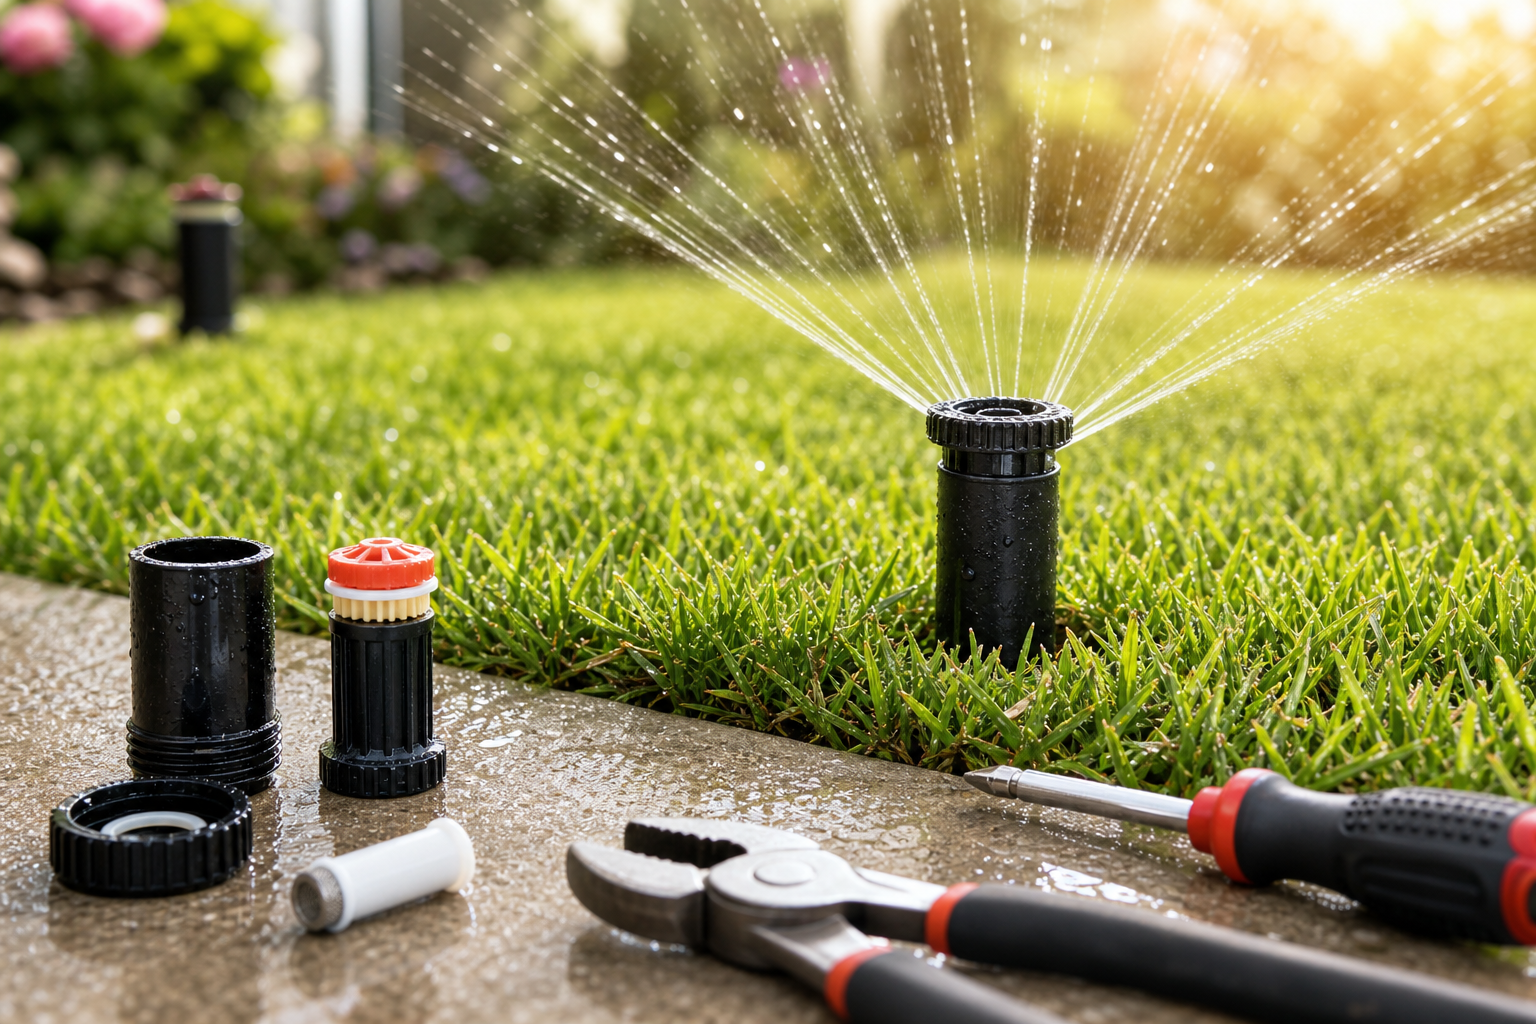
Tools and Materials You’ll Need
- Replacement sprinkler head (match type and connection size)
- Shovel or trowel
- Adjustable wrench or pliers
- Teflon tape (optional for threaded fittings)
- Pipe thread sealant (optional)
- Rag or towel
- Bucket to hold removed parts
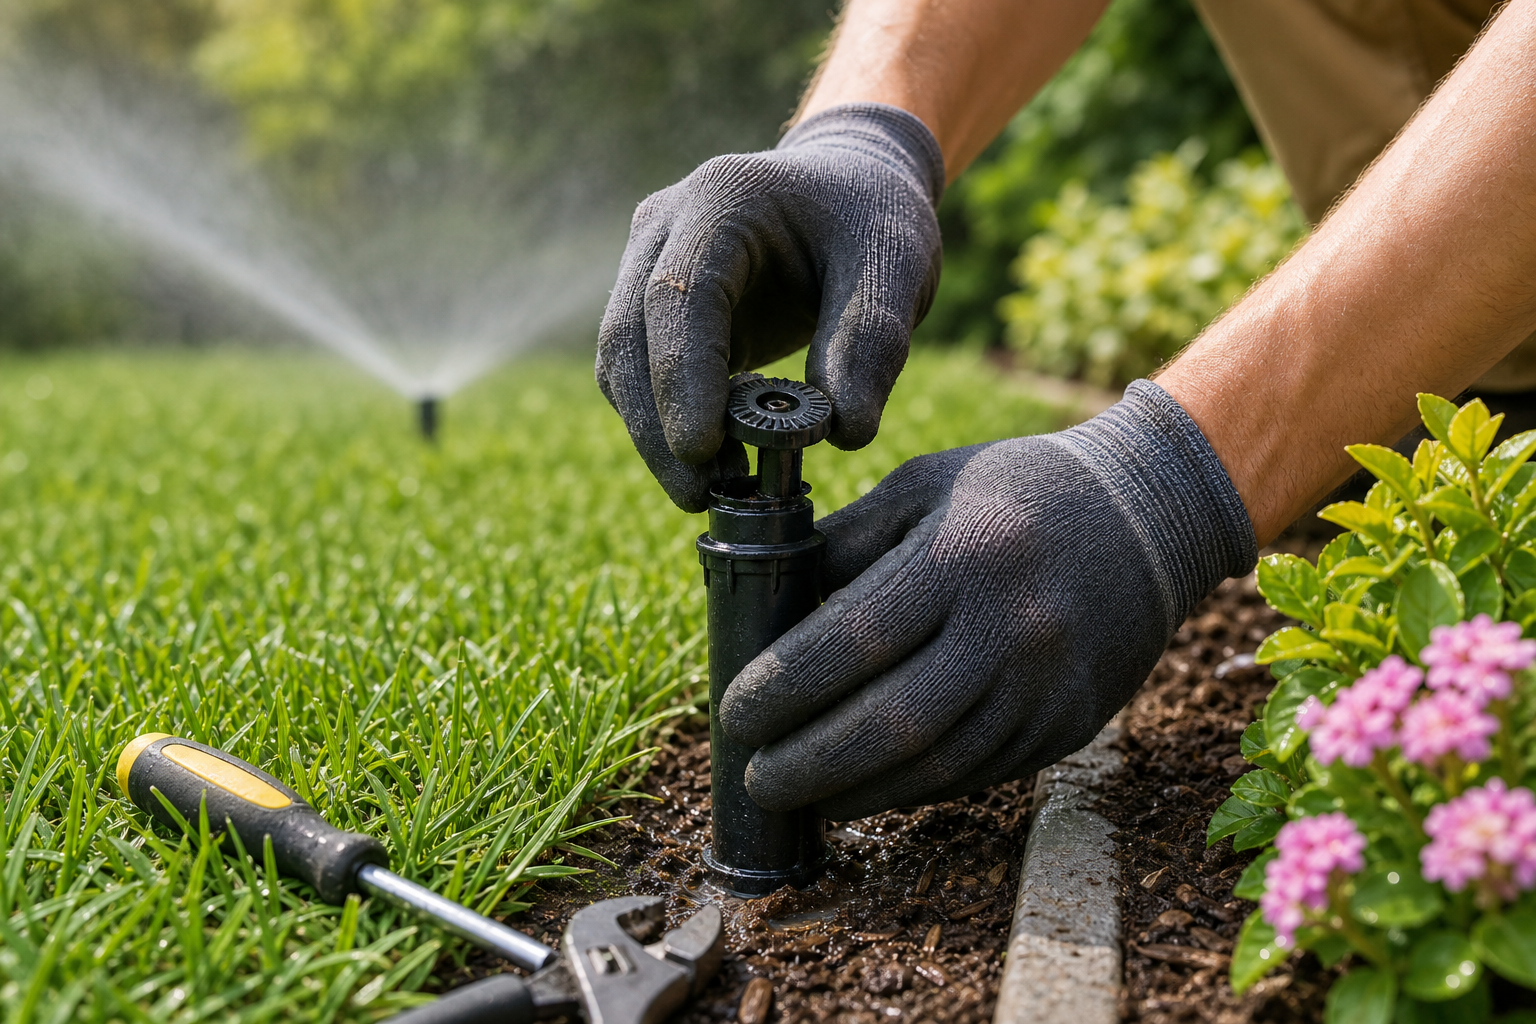
Step-by-Step Sprinkler Head Replacement
- Turn off the water and system: Shut off the irrigation control and main water supply if necessary. Confirm the zone is off.
- Expose the head: Dig carefully around the sprinkler head to expose the riser and fittings. Leave the head connected to the pipe until ready to remove.
- Remove the old head: For pop-up heads, unscrew the bonnet or the head from the riser. For threaded fittings, hold the riser and twist the head counterclockwise. Keep parts in the bucket in case you need them for reference.
- Inspect the riser and fittings: Check for damaged threads, cracks, or debris. Replace risers if they are cracked or brittle.
- Install the new head: Wrap any threaded connections with a small amount of Teflon tape, if desired. Screw the new head onto the riser until snug. Avoid overtightening plastic fittings — hand-tight plus a quarter-turn is usually sufficient.
- Adjust height and alignment: Set the new head so the top is flush with the finished grade and aims correctly. Many heads have adjustable nozzles for pattern and distance.
- Test the zone: Turn the system back on and run the zone. Watch for leaking, proper pop-up action, and correct spray pattern. Make adjustments as needed.
- Backfill carefully: Once satisfied, backfill the soil around the head, tamp lightly and avoid burying the top of the head.
Troubleshooting Common Issues
Head Won’t Retract
Check for debris in the riser mechanism or insufficient water pressure. Clean the head and test again. If the spring is broken, replace the entire head.
Poor Coverage After Replacement
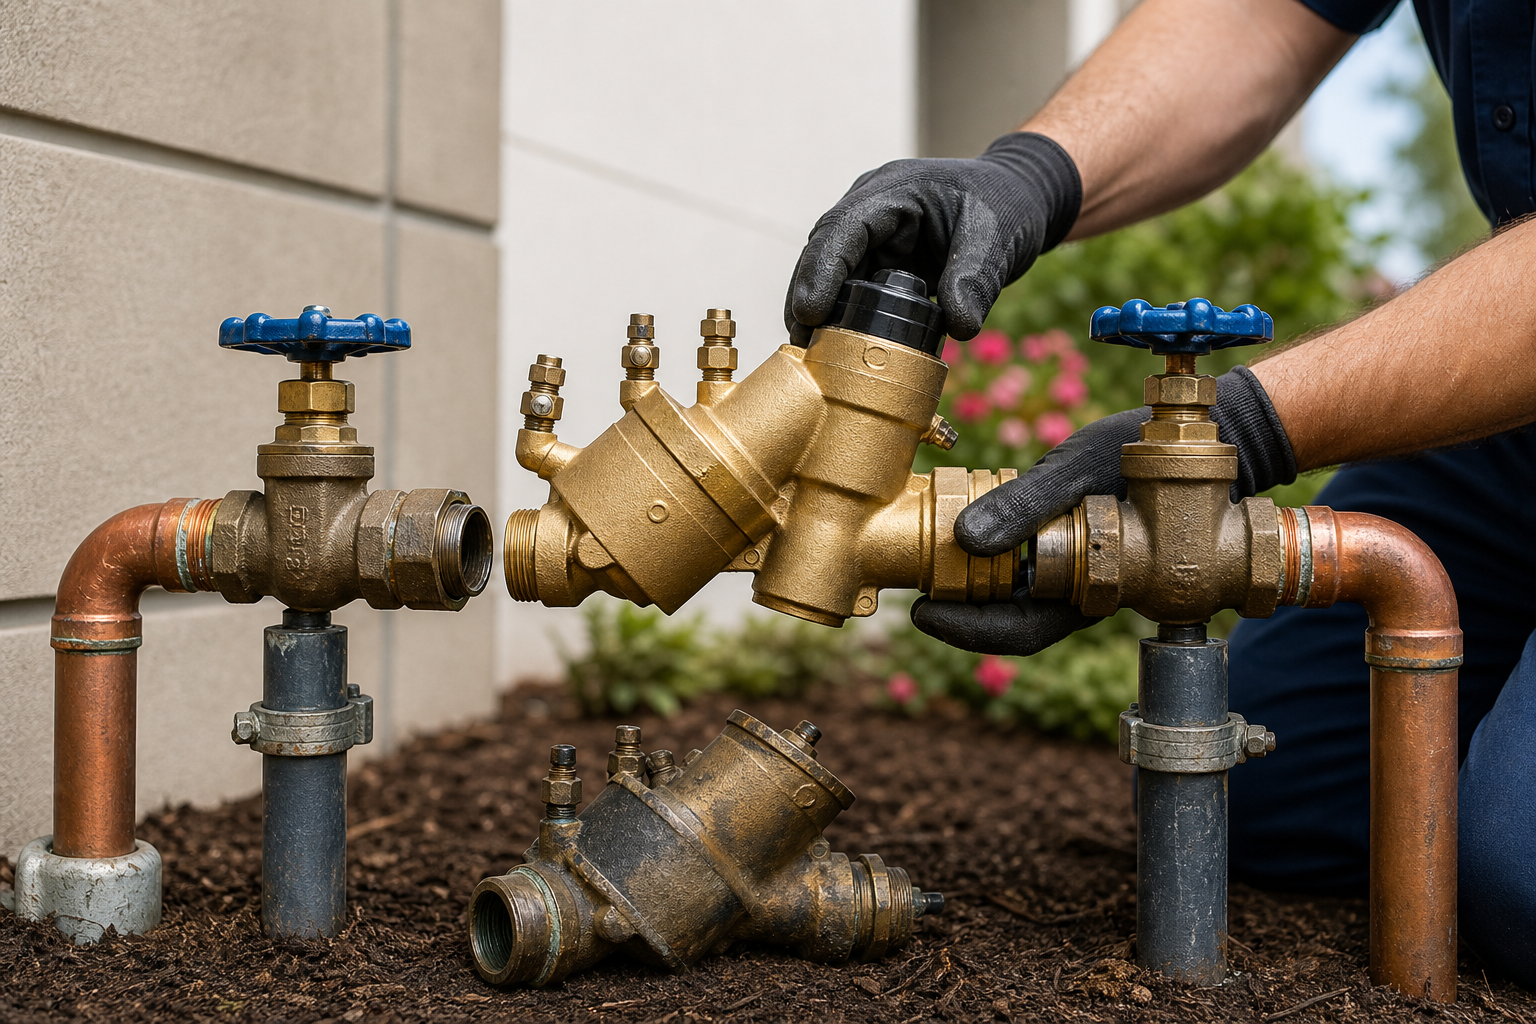
Make sure you matched the nozzle type and flow rate. Adjust the nozzle pattern and radius. If pressure is too high, consider installing a pressure regulator or using a different nozzle.
Leaking at the Base
Inspect the riser and threads. Replace damaged risers or use proper thread sealant. For persistent leaks, you may need to replace a short section of pipe or call a professional.
DIY vs Hiring a Professional
Replacing a single head is typically a straightforward DIY job for most homeowners. However, hire a professional if you encounter repeated failures, underground pipe damage, complex zoning issues, or if you’re not comfortable working around irrigation valves and mains.
Maintenance Tips to Extend Sprinkler Head Life
- Check heads each season for damage and alignment.
- Clean nozzles periodically to prevent clogs.
- Avoid mowing too close to heads or using string trimmers against plastic parts.
- Winterize systems in cold climates to prevent freeze damage.
Estimated Costs
Individual replacement heads generally cost $5 to $30 depending on type and quality. If you hire a pro, expect labor to add $50 to $150 or more per service visit, depending on travel and complexity.
Final Tips
Keep replacement heads and a basic tool kit handy for quick repairs. Label zones and keep a simple map of your irrigation layout to speed up troubleshooting. Matching new parts to your existing system avoids compatibility headaches.
Conclusion
Replacing a sprinkler head is a manageable, cost-effective way to keep your irrigation system running efficiently. With the right parts and a little care, you can restore coverage, eliminate leaks, and prolong the life of your lawn and garden irrigation.