Introduction
Sprinkler valves are the workhorses of any irrigation system. When they fail, zones may stay on, stay off, or water unevenly — wasting water and harming your landscape. This guide walks you through how sprinkler valves work, how to diagnose common problems, and step-by-step repair tips you can use to get your system back to normal.
Signs of a Bad Sprinkler Valve
- Zone won’t turn on when the controller signals it.
- Valve won’t shut off — water continues to flow after the zone cycle ends.
- Valve leaks at the bonnet, inlet, or weep holes.
- Hissing sounds or reduced water pressure in a zone.
- Valve cycles erratically or only partially opens.
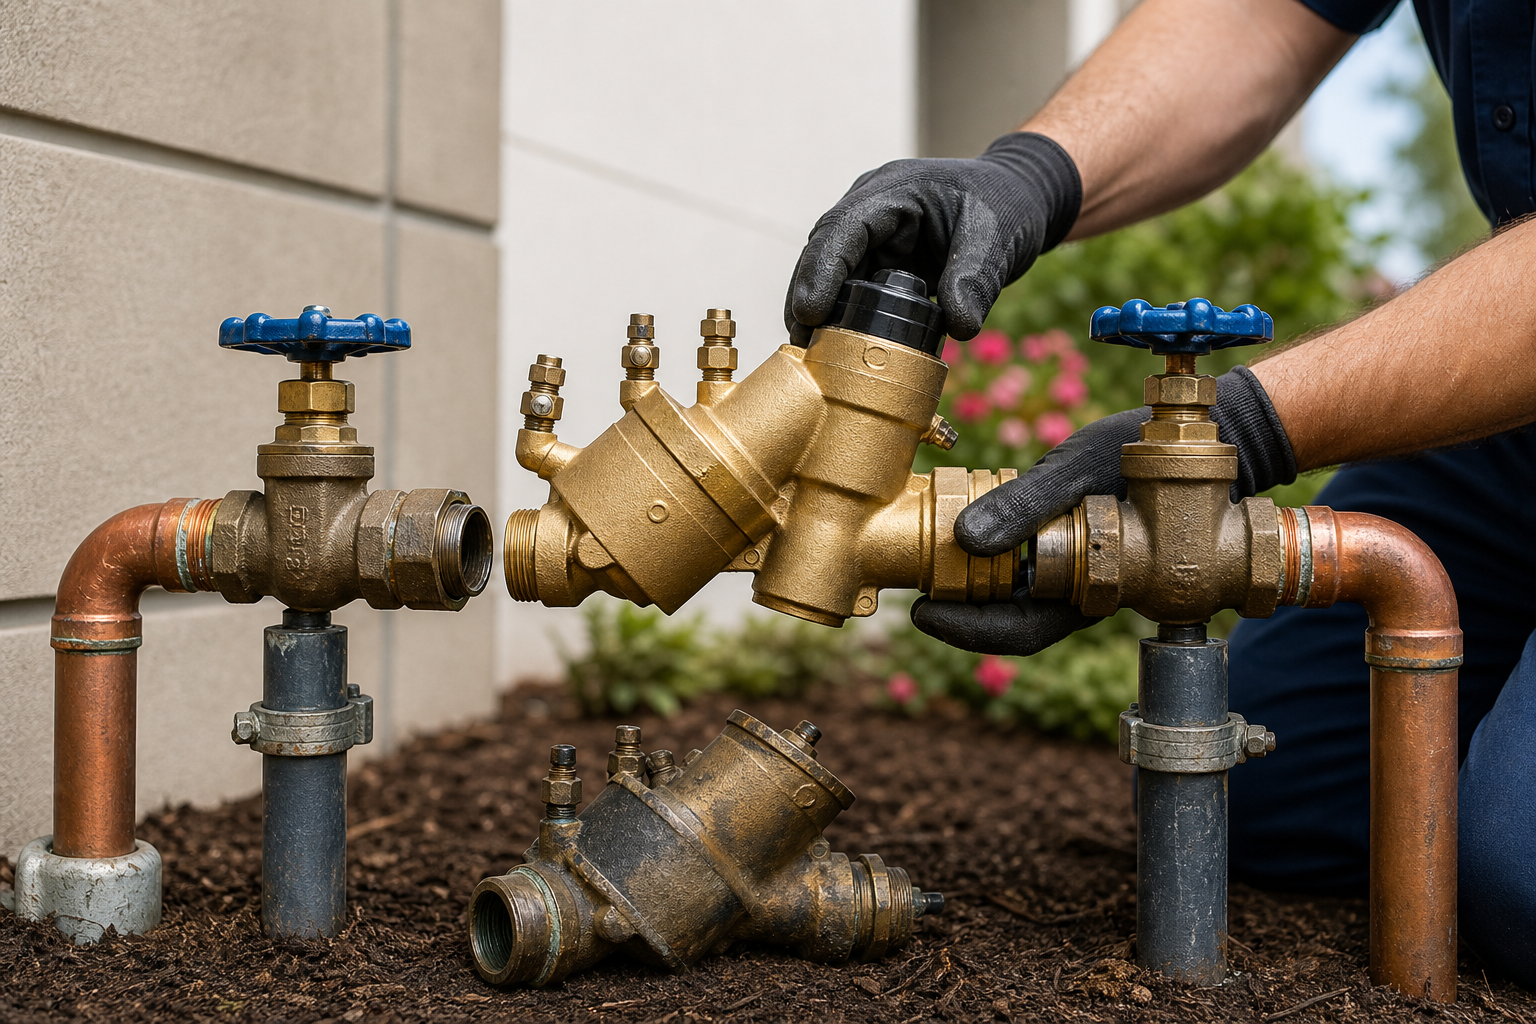
Types of Sprinkler Valves
Knowing your valve type helps narrow repair steps. Typical valves include:
- Plastic diaphragm-operated solenoid valves — common on residential systems.
- Backflow preventer integrated valves — combine protection and flow control.
- Valve manifold assemblies — multiple valves mounted on a common base.
- PSI-regulated or anti-siphon valves — installed above ground in some yards.
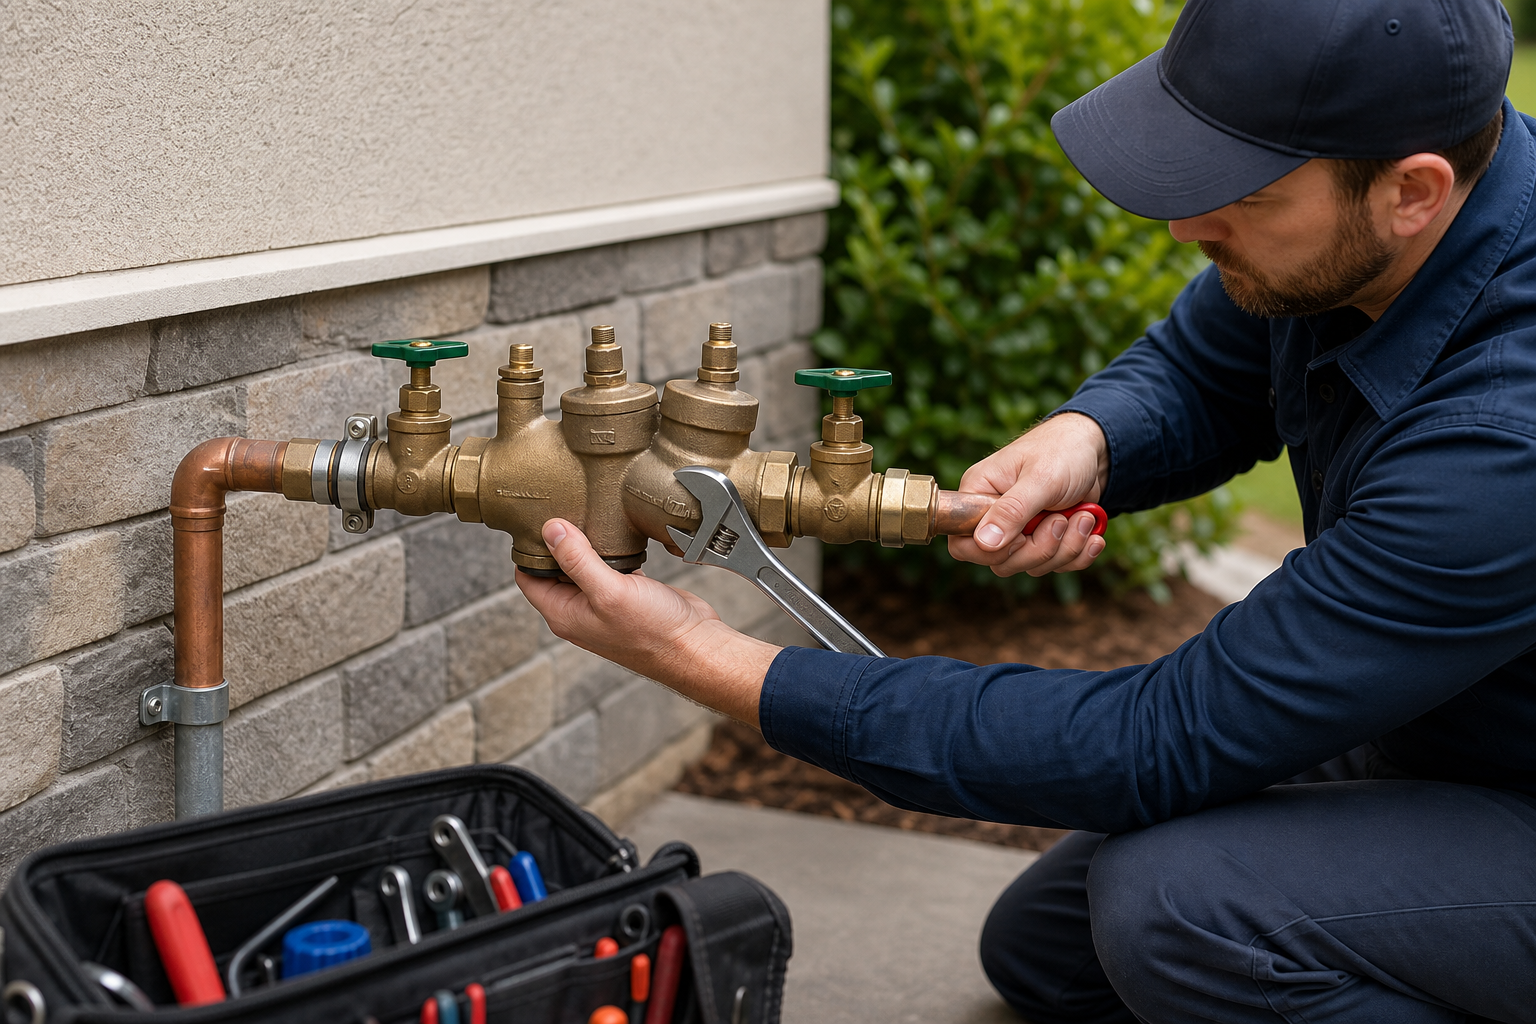
Tools and Materials You’ll Need
- Adjustable wrench and channel-lock pliers
- Flathead and Phillips screwdrivers
- Replacement diaphragms, O-rings, or solenoids (model-specific)
- Teflon tape, PVC primer and glue (if pipes need re-joining)
- Bucket, towels, and small brush or cloth for cleaning
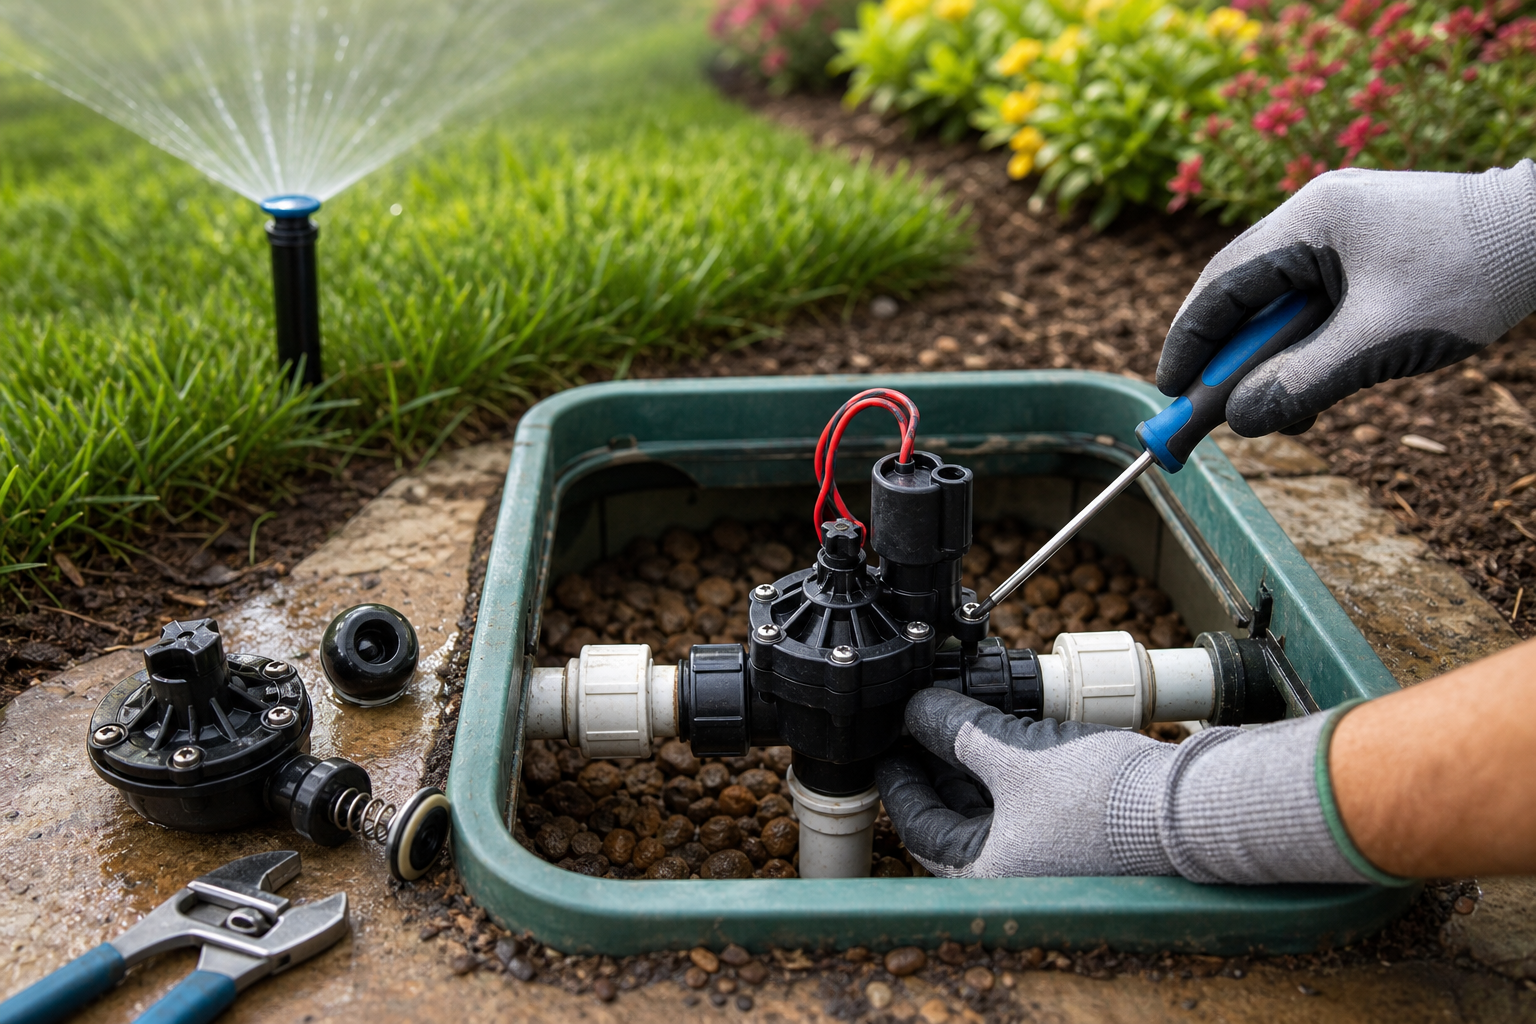
Step-by-Step Sprinkler Valve Repair
1. Turn Off the Water and Power
Before touching the valve, shut off the main water supply to the irrigation system — often a separate shut-off near the meter or backflow device. Also turn off the irrigation controller or unplug the transformer to prevent the valve from receiving an electrical signal while you work.
2. Relieve Pressure and Inspect
Run a zone briefly with the main shut off to bleed residual pressure out, then open the valve box. Inspect the valve for visible damage, cracked plastic, or debris. Note where the leak or malfunction appears to originate.
3. Test the Solenoid
Use the manual bleed (if present) or the controller’s manual station function to activate the valve. If the valve clicks and opens, the solenoid likely works. If there’s no click, test the solenoid with a multimeter for continuity or swap it with another known-good valve to confirm.
4. Clean or Replace the Diaphragm and Seals
Most residential valve issues are dirt or damaged diaphragms. Remove the bonnet screws and lift the bonnet. Take out the diaphragm and check for cracks, folds, or grit. Clean the valve body and bonnet with a soft brush. Replace the diaphragm or O-ring if worn. Reassemble carefully, aligning any tabs on the diaphragm so it seats correctly.
5. Reassemble and Test
Reinstall the bonnet and tighten screws evenly. Restore water and power, then run the zone to confirm the valve opens and closes properly. Check for leaks while the valve is both on and off. If the problem persists, consider replacing the solenoid or the entire valve.
When to Replace Rather Than Repair
Replace the valve if the body is cracked, internal seats are warped, PVC threads are stripped, or the valve leaks despite new diaphragms and seals. Also replace older valves with hard-to-find parts — sometimes replacement is faster and more cost-effective.
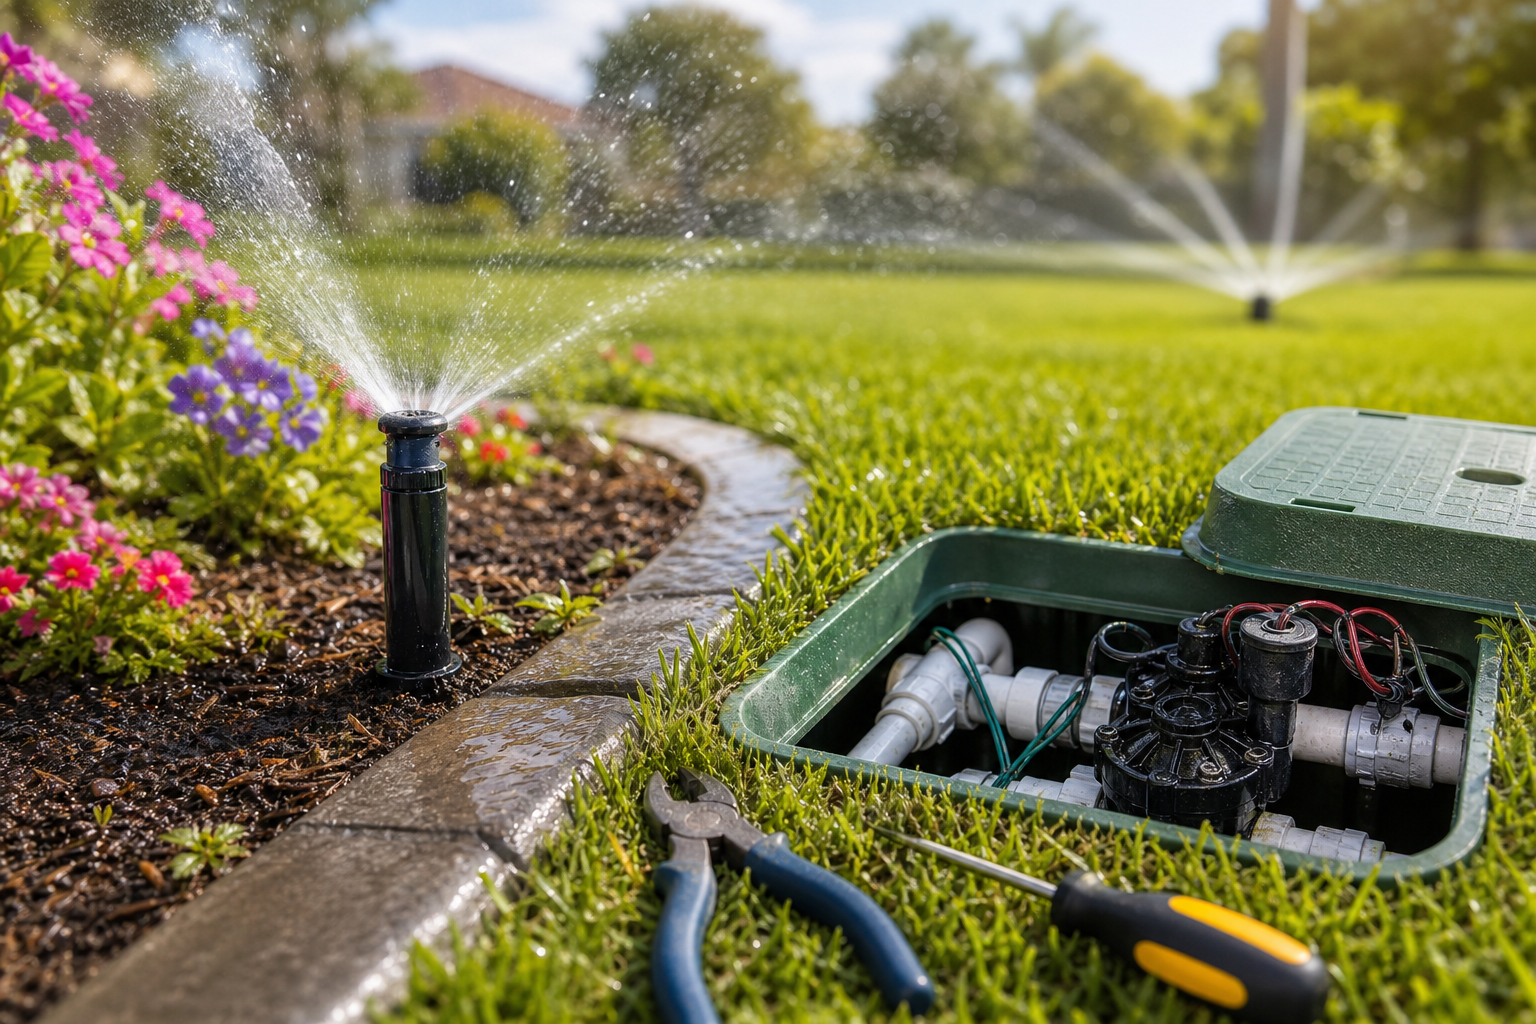
Preventive Maintenance
- Run through each zone at the start and end of the watering season to spot problems early.
- Clean filters and strainers to prevent grit from reaching valves.
- Replace diaphragms and O-rings every 5–7 years as part of routine maintenance.
- Keep the valve box free of standing water, insects, and leaves.
Cost and Time Estimates
A basic diaphragm or solenoid replacement can take 15–45 minutes per valve for a DIYer. Parts typically cost $5–$30 for a diaphragm, $10–$40 for a solenoid, and $30–$100 for a full valve. Professional service call and labor may add $75–$200 depending on location and complexity.
Safety Precautions
- Always shut off water and electrical power before disassembling valves.
- Use proper PPE like gloves and eye protection when cutting PVC or using adhesives.
- Follow local plumbing codes when making permanent repairs to supply lines.
Conclusion
Many sprinkler valve problems are simple to diagnose and fix with the right tools and replacement parts. Start with inspection and cleaning, test the solenoid, and replace diaphragms or seals as needed. When a valve is cracked or repeatedly fails, replacement is the safest choice. With a little routine maintenance, you can keep your irrigation system reliable and water-efficient.