Why Replace Your Irrigation Timer?
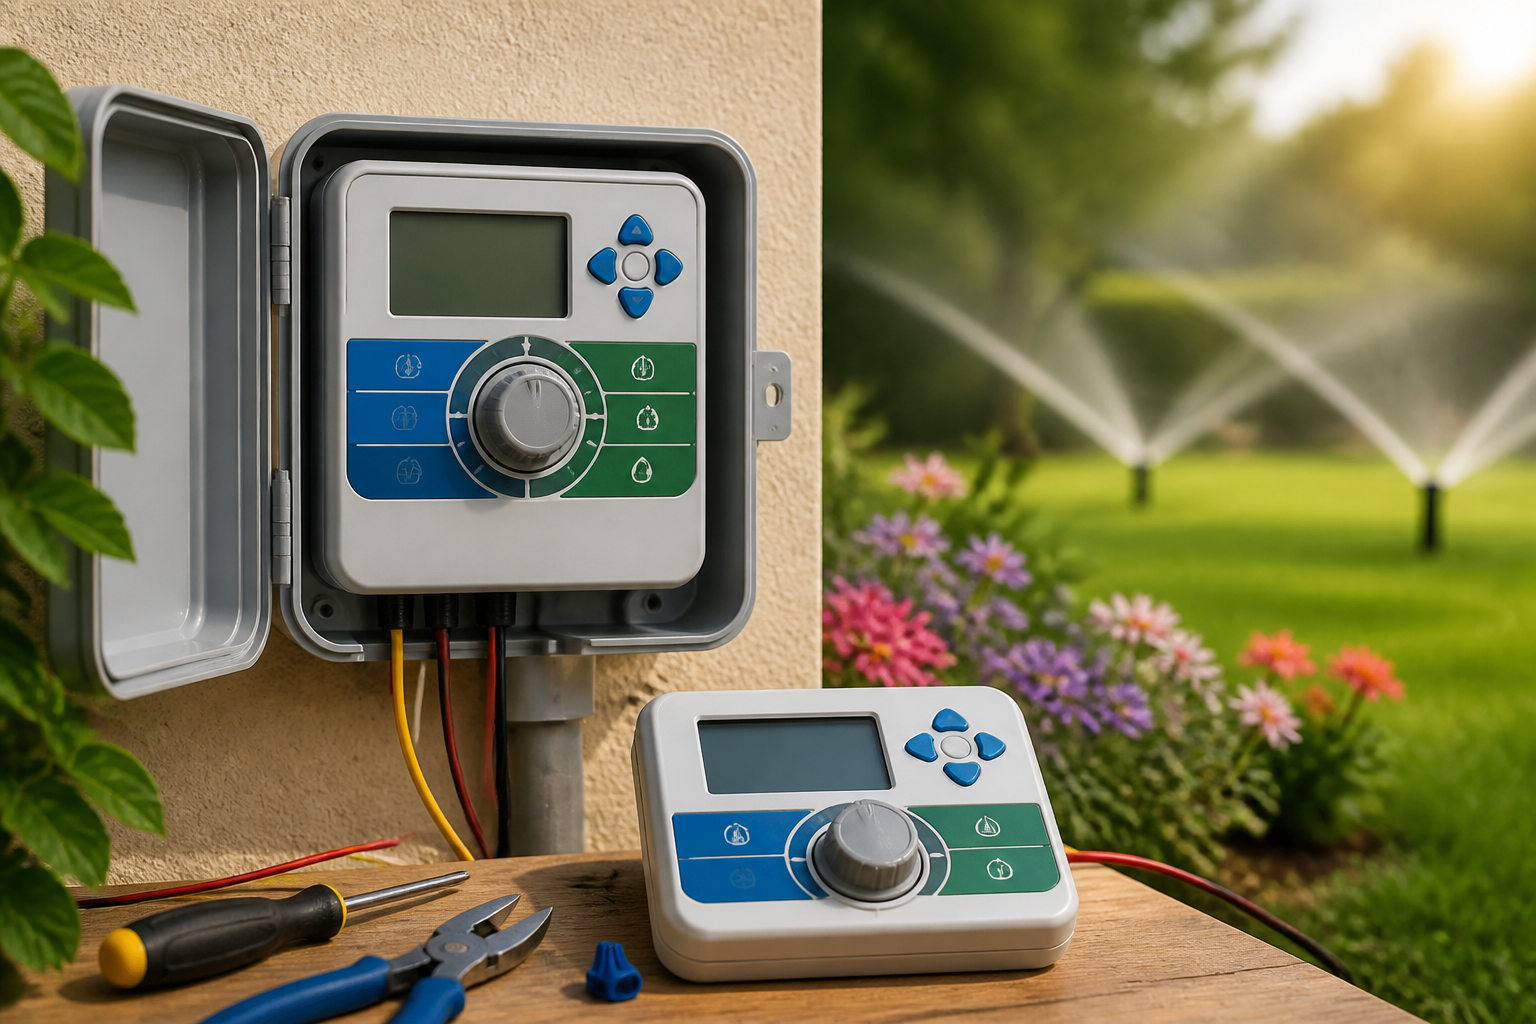
An irrigation timer (controller) is the brain of your watering system. Over time it can fail, become unreliable, or fall behind modern features like weather-based adjustments and app control. Replacing a faulty or outdated timer improves water efficiency, protects plants, and can reduce water bills.
Common signs it’s time
- Zones run at the wrong times or won’t start.
- Programs reset or the display is blank.
- Inability to set seasons, odd run durations, or intermittent operation.
- Corroded wiring, rusted enclosure, or persistent error codes.
Benefits of upgrading
- Better water savings with smart, weather-based scheduling.
- Remote control and notifications via smartphone apps.
- Improved reliability and easier programming.
- Compatibility with rain sensors and modern irrigation hardware.
Choosing the Right Replacement Timer
Basic vs. smart timers
Basic timers offer manual scheduling and are budget-friendly. Smart timers connect to Wi‑Fi, learn local weather or integrate with weather services, and allow remote control. Choose based on budget, need for automation, and connectivity preferences.
Number of zones and compatibility
Match the controller’s zone capacity to your system. If you have 6 valves, buy at least a 6-zone controller. Consider future expansion; a 9- or 12-zone model may be more cost-effective long-term.
Power source and wiring considerations
Most controllers are 24VAC and use the standard common and zone wires. Check whether your transformer is compatible and ensure existing wiring is in good condition. If wiring is old or damaged, plan to replace it or consult a professional.
Preparing for Replacement
Tools and materials needed
- Screwdrivers (flat and Phillips)
- Wire strippers/crimpers
- Multimeter (for voltage checks)
- Wire nuts or terminal connectors
- Electrical tape, labels, and a small flashlight
Safety precautions and turning off power
Turn off the controller by unplugging it or switching off the breaker. If the transformer is external, switch off power at that source. Never work on live wiring. Label wires before disconnecting so you can match zones correctly on the new unit.
Step-by-Step Replacement Guide
Remove the old timer
- Open the controller and take a clear photo of the wiring layout.
- Label each wire by zone number and common (C) if not already labeled.
- Disconnect wiring and remove mounting screws. Keep fasteners for reuse if they fit the new box.
Wiring the new timer
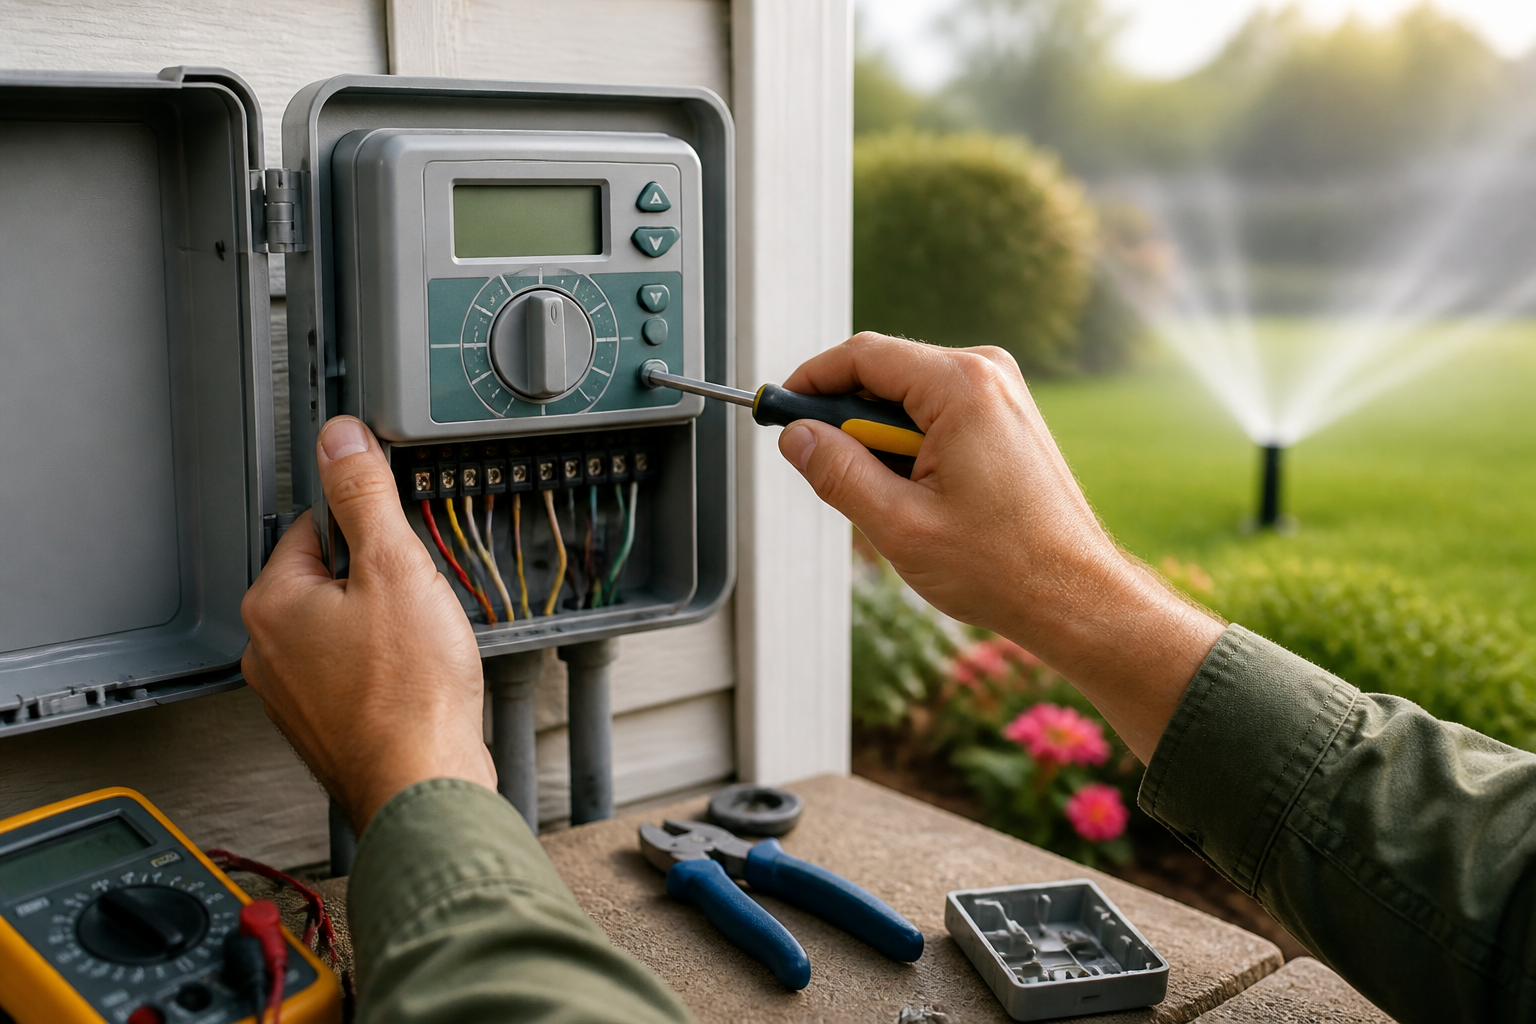
Mount the new controller on a stable surface. Connect the 24VAC transformer leads to the transformer terminals on the controller. Attach the common wire to the controller’s common terminal and each zone wire to its corresponding zone terminal. Use a multimeter to verify transformer output if you suspect power issues. Tighten connections securely and use waterproof connectors if mounting outdoors.
Mounting and connecting to valves
Confirm that each valve clicks when manually activated from the controller’s panel. If a valve does not respond, re-check wiring, the valve solenoid, and the valve itself for physical issues.
Programming Your New Timer
Common settings to configure
- Current date and time — base for all schedules.
- Start times — when zones begin each day.
- Run durations — how long each zone runs.
- Watering days or cycle days — daily, alternate days, or specific weekdays.
- Seasonal adjustment or flow-based scheduling for seasonal changes.
Smart features and integrating with weather
If your controller is smart-enabled, connect it to Wi‑Fi and create an account. Enable weather adjustments and link to a local weather station or service for automatic watering reduction during rains. Explore flow monitoring and leak detection for advanced protection.
Troubleshooting and Maintenance
Common issues and quick fixes
- No power — check transformer fuse, breaker, and voltage with a multimeter.
- Zones shorting — inspect wiring for chafing or exposed conductors.
- Valve won’t open — swap zone wires with a known working zone to isolate a valve vs. controller problem.
- Wi‑Fi problems — ensure strong signal or consider a Wi‑Fi range extender.
Regular maintenance tips
Inspect the controller and wiring annually, replace batteries for backup timekeeping, clean vents, update firmware on smart models, and test each zone once per season to catch problems early.
Cost and When to Call a Pro
Entry-level controllers start around $50–$150; smart models range from $150–$350 or more. If wiring runs are buried, corroded, or you’re uncomfortable with electrical work or complex valve issues, hire a licensed irrigation technician or electrician. Professionals can diagnose hard-to-find shorts, replace transformers, and program complex landscapes.
Conclusion
Replacing an irrigation timer is a manageable DIY project for most homeowners and delivers better reliability and water savings. Choose the right controller for your zone count and features, take safety precautions, label wiring, and follow clear programming steps. When in doubt about electrical work or complex system problems, call a pro to ensure a leak-free, efficient system.