Introduction
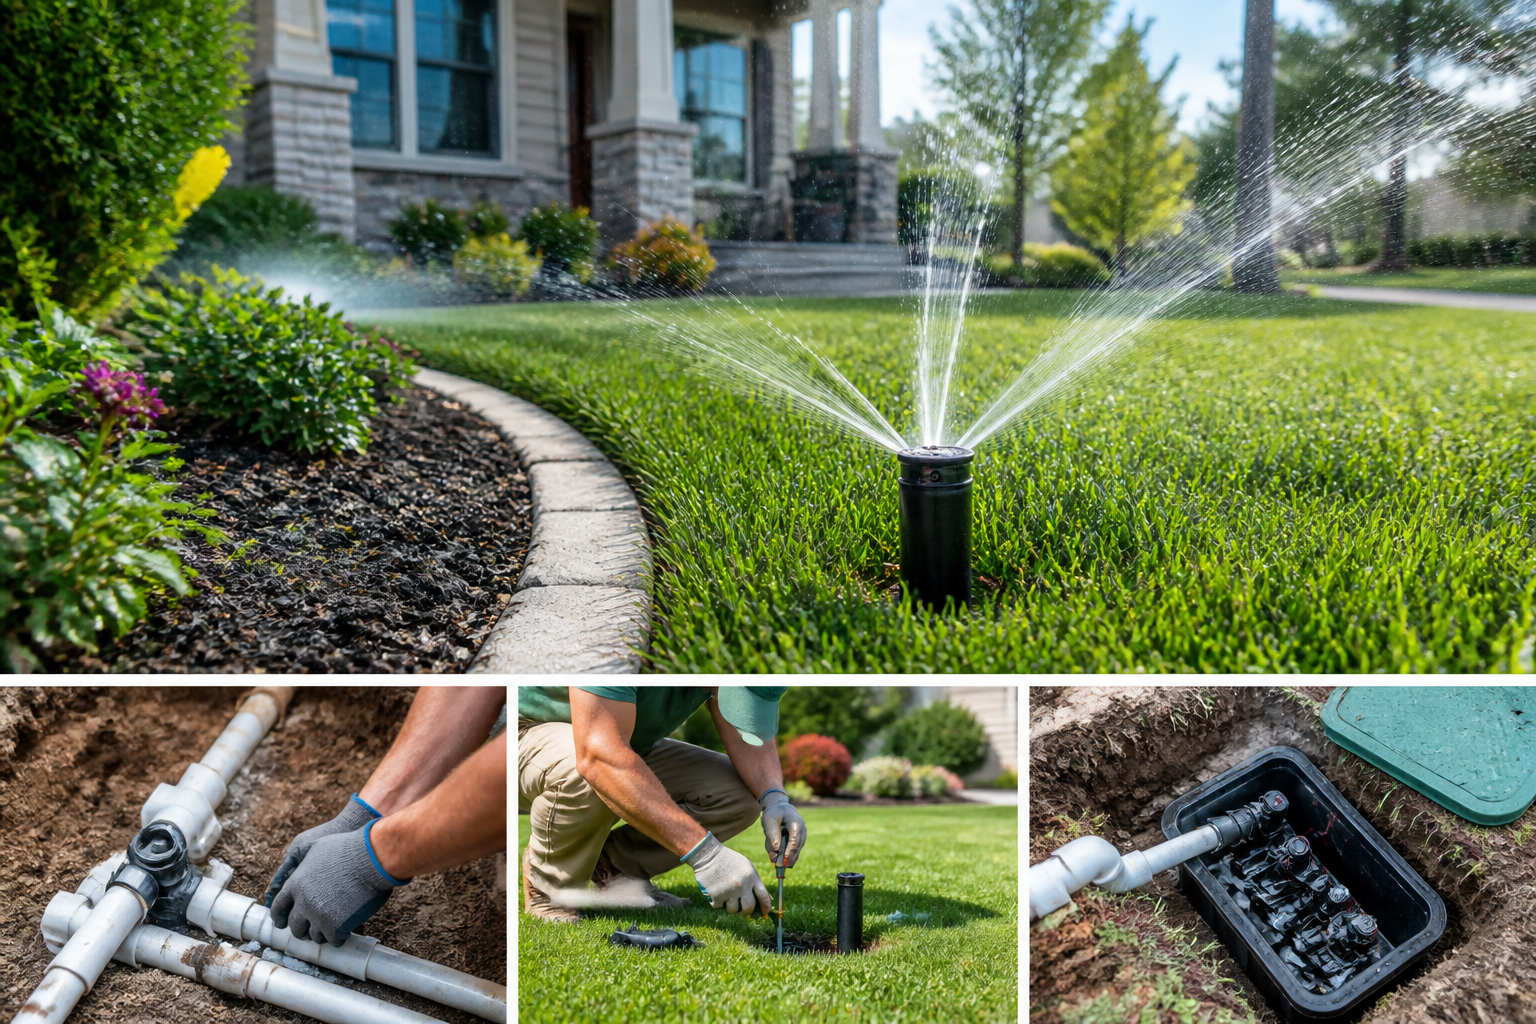
Drip irrigation is an efficient way to water landscapes, vegetable gardens, and container plantings. But like any system that runs outdoors, it can develop clogs, leaks, or pressure problems over time. This post walks you through common drip irrigation issues, the tools and materials you need, step-by-step repair techniques, and simple maintenance practices to keep your system running smoothly.
Common Problems and How to Diagnose Them
Low or No Water Flow
Low flow often stems from clogged emitters, a dirty filter, a faulty pressure regulator, or closed valves. Start by checking the system zone by zone to identify whether the issue is widespread or isolated to a few emitters.
Uneven Watering
Uneven watering can be caused by blown emitters, collapsed tubing, or variations in elevation and pressure. Observe run times and inspect emitters for drips or blocked ports.
Leaks and Wet Spots
Visible leaks could be punctures in the tubing, loose fittings, or cracked emitters. If you see wet spots or pooled water, follow the tubing to find the source. Leaks often reveal themselves during or right after an irrigation cycle.
Valve or Controller Failures
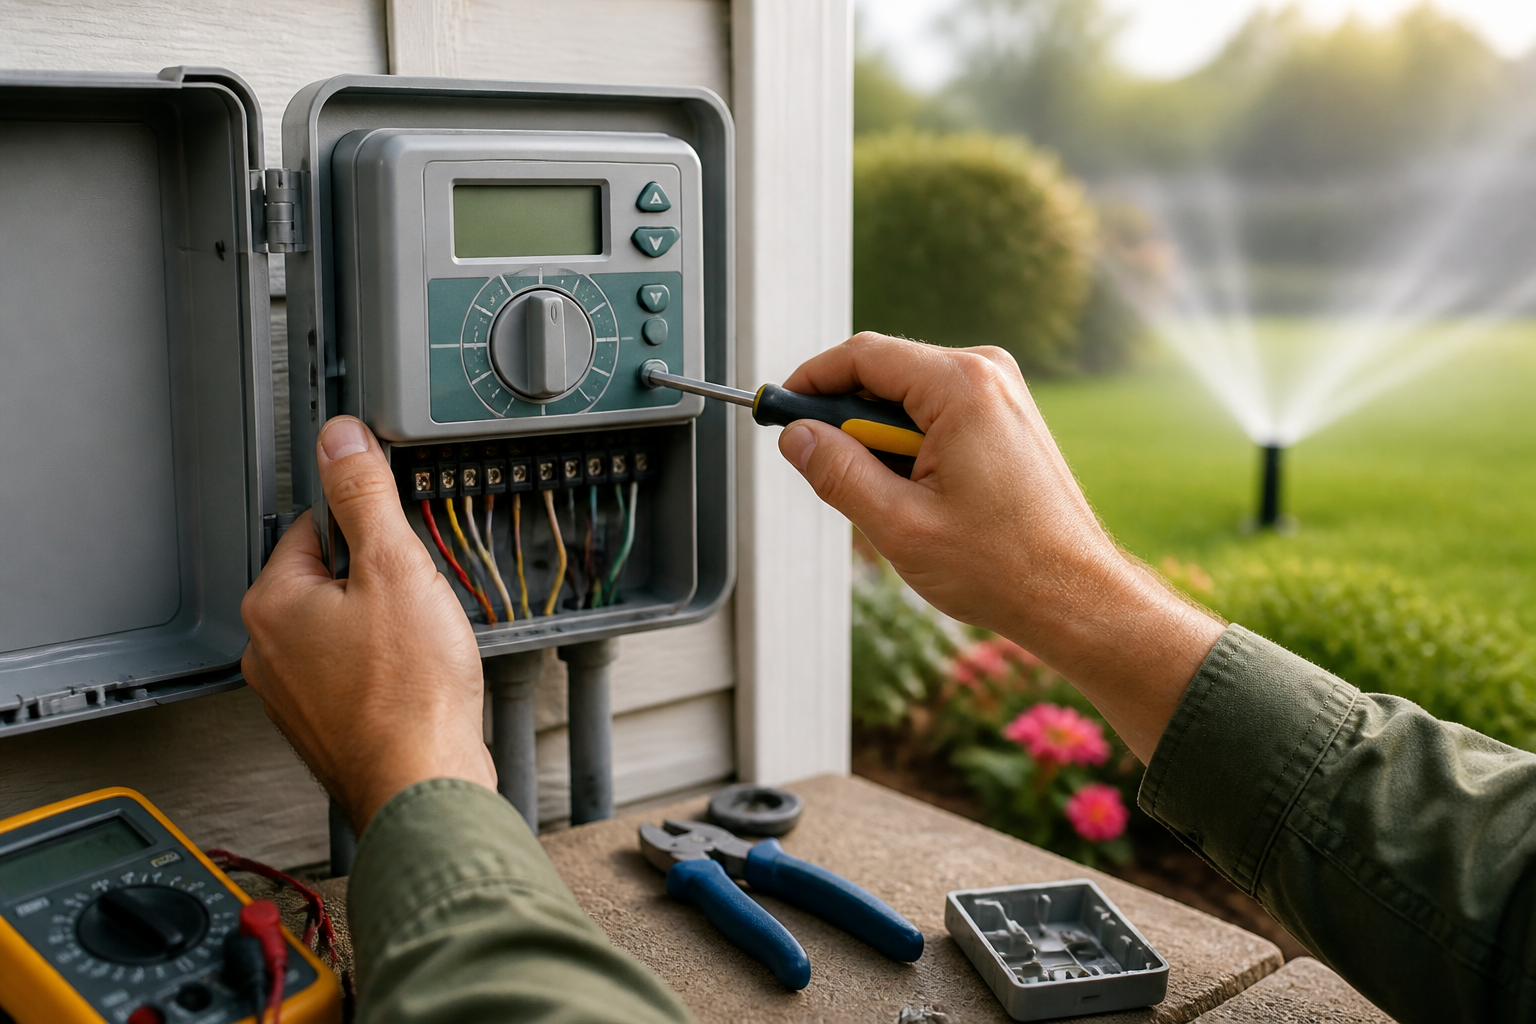
If a zone won’t turn on or off, the issue may be a stuck valve, bad solenoid, or controller programming/wiring problem. Listen for a click from the controller and a hum or vibration at the valve when the zone is activated.
Tools and Materials You ll Need
- Small hand tools: utility knife, scissors, needle-nose pliers
- Replacement parts: emitters, barbed couplers, end caps, tubing, clamps
- Pressure gauge and regulator
- Filter cleaning tools or replacement filters
- Replacement solenoids or multimeter for electrical checks
- Gloves and a towel for wet work
Step-by-Step Repair Guide
1. Start with Safety and Isolation
Turn off the water to the irrigation system at the main valve. If you plan to work on valves or wiring, switch the controller to the off position or disconnect its power to avoid accidental activation.
2. Inspect Filters and Flush the System
Clogged filters are a common culprit. Remove and clean the filter screen or replace it if worn. Open the manual flush at the end of the zone line to clear debris. Flushing often restores flow and prevents emitter clogging.
3. Clear or Replace Blocked Emitters
Remove clogged emitters and inspect them. Many emitters can be cleared with a thin wire or by soaking in vinegar to dissolve mineral buildup. Replace brittle or damaged emitters with new ones to restore consistent flow.
4. Fix Leaks and Replace Sections of Tubing
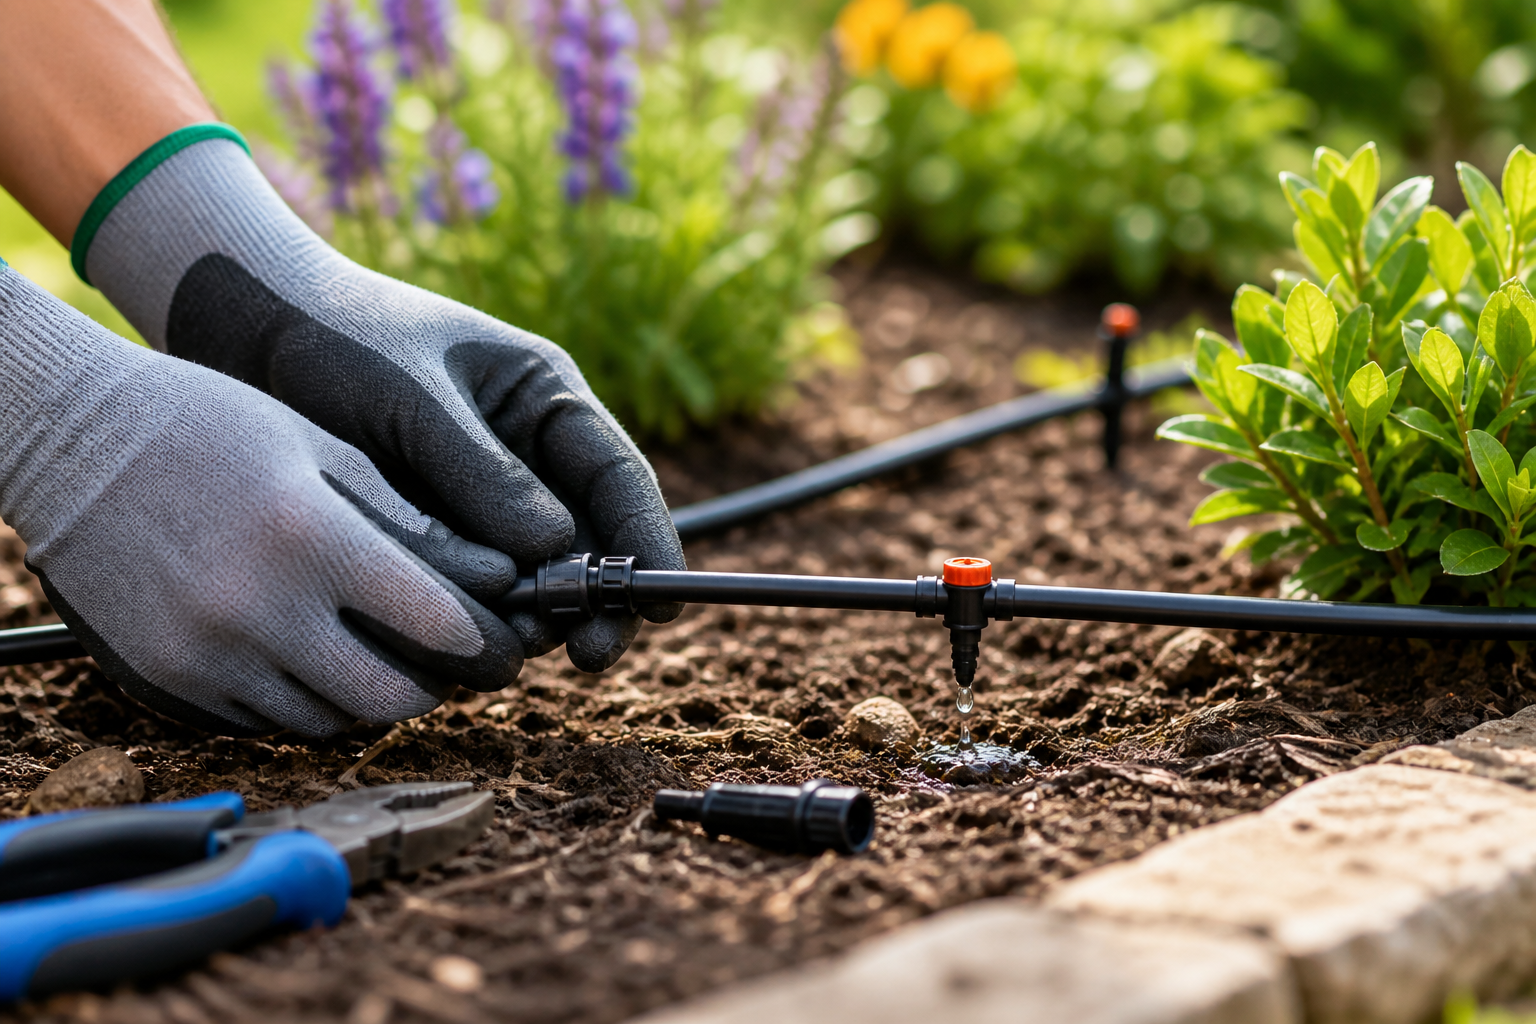
Cut out damaged tubing with a clean, straight cut and insert a barbed coupler to join the ends. For small punctures, a repair coupling or clamp may be sufficient. Use compression fittings or heat-shrink repair sleeves where applicable for a watertight seal.
5. Address Pressure Problems
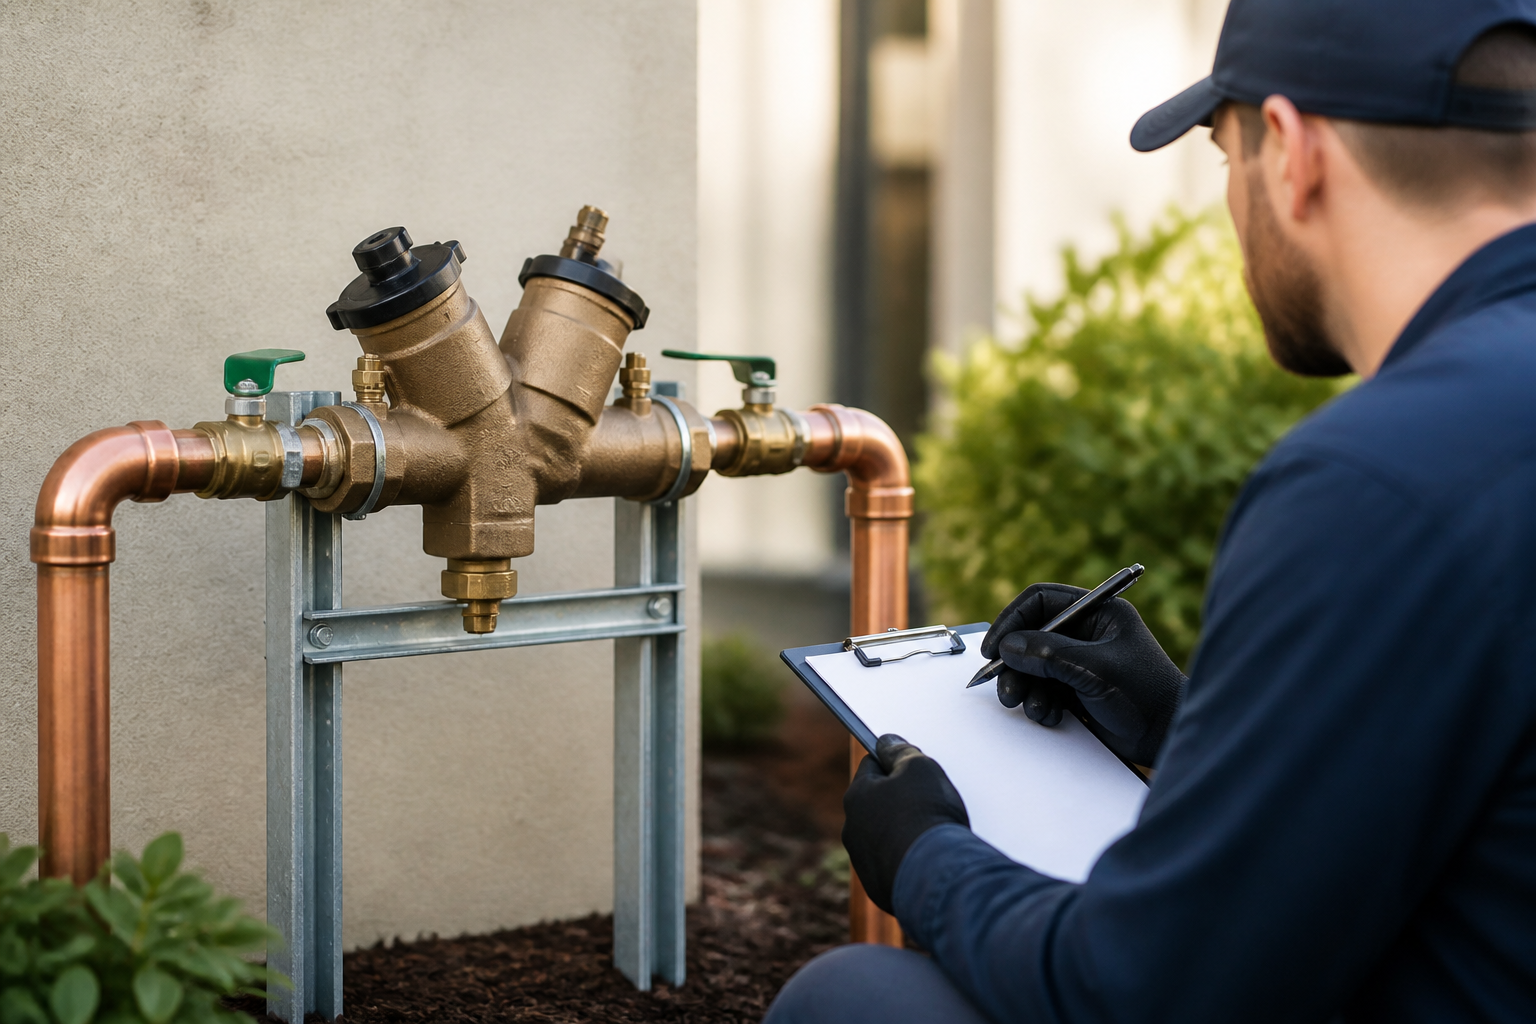
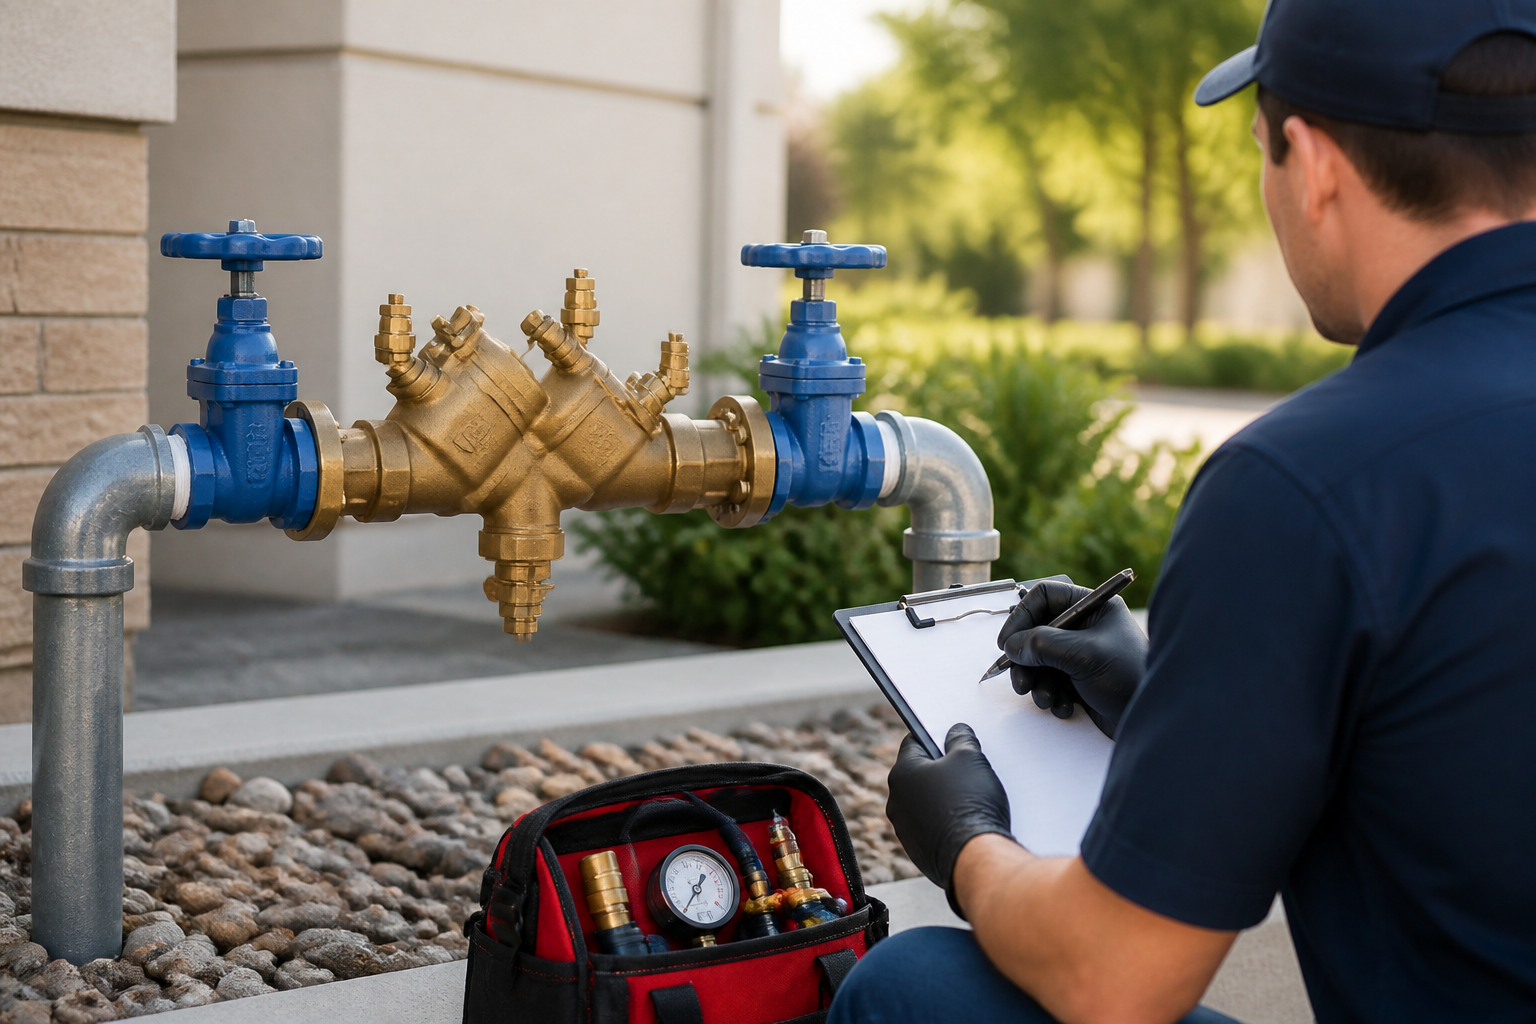
Check system pressure with a gauge. If pressure is too high, install or adjust the pressure regulator to the manufacturer s recommended setting. If pressure fluctuates, inspect the pump, backflow preventer, or main supply for problems.
6. Repair Valves and Controllers
Listen to the valve when it s activated. If it doesn t click, the controller may not be sending power. Use a multimeter to test voltage at the solenoid and inspect wiring for corrosion. Replace faulty solenoids or clean and rebuild valve internals if needed.
Maintenance and Prevention
Regular Cleaning and Seasonal Checks
Clean filters and flush lines at the start of each watering season. Check emitters and tubing for wear every few months. Before winter, blow out the system or drain it to prevent freeze damage in cold climates.
Smart Scheduling and Monitoring
Program run times according to plant needs and seasonal changes. Consider using a rain sensor or soil moisture sensor to avoid overwatering and cut down on clogging caused by mineral buildup from frequent runs.
Keep Spare Parts on Hand
Stock basic repair parts like emitters, couplers, end caps, and a spare pressure regulator. Having these on hand lets you make quick fixes before problems escalate.
When to Call a Professional
If you re dealing with complex electrical issues, recurring pressure losses that aren t resolved by basic fixes, or extensive underground leaks, a professional irrigation technician can provide diagnostics, repairs, and upgrades. Pros can also ensure code compliance for backflow devices and mainline work.
Conclusion
Most drip irrigation problems are diagnosable and fixable with basic tools and a little know-how. By inspecting filters and emitters, flushing lines, addressing leaks, and maintaining pressure, you can keep your system efficient and extend its life. Regular maintenance and a small parts kit will save time, water, and money in the long run.